3D MODELLING AURACLE
This week, I had a discussion with Carissa about 3D modelling and she encouraged me to try 3D printing my emotion-sensing eyewear AURACLE. Although I was not very confident using Blender, I felt that this was an opportunity to materialise the eyewear as a physical object.
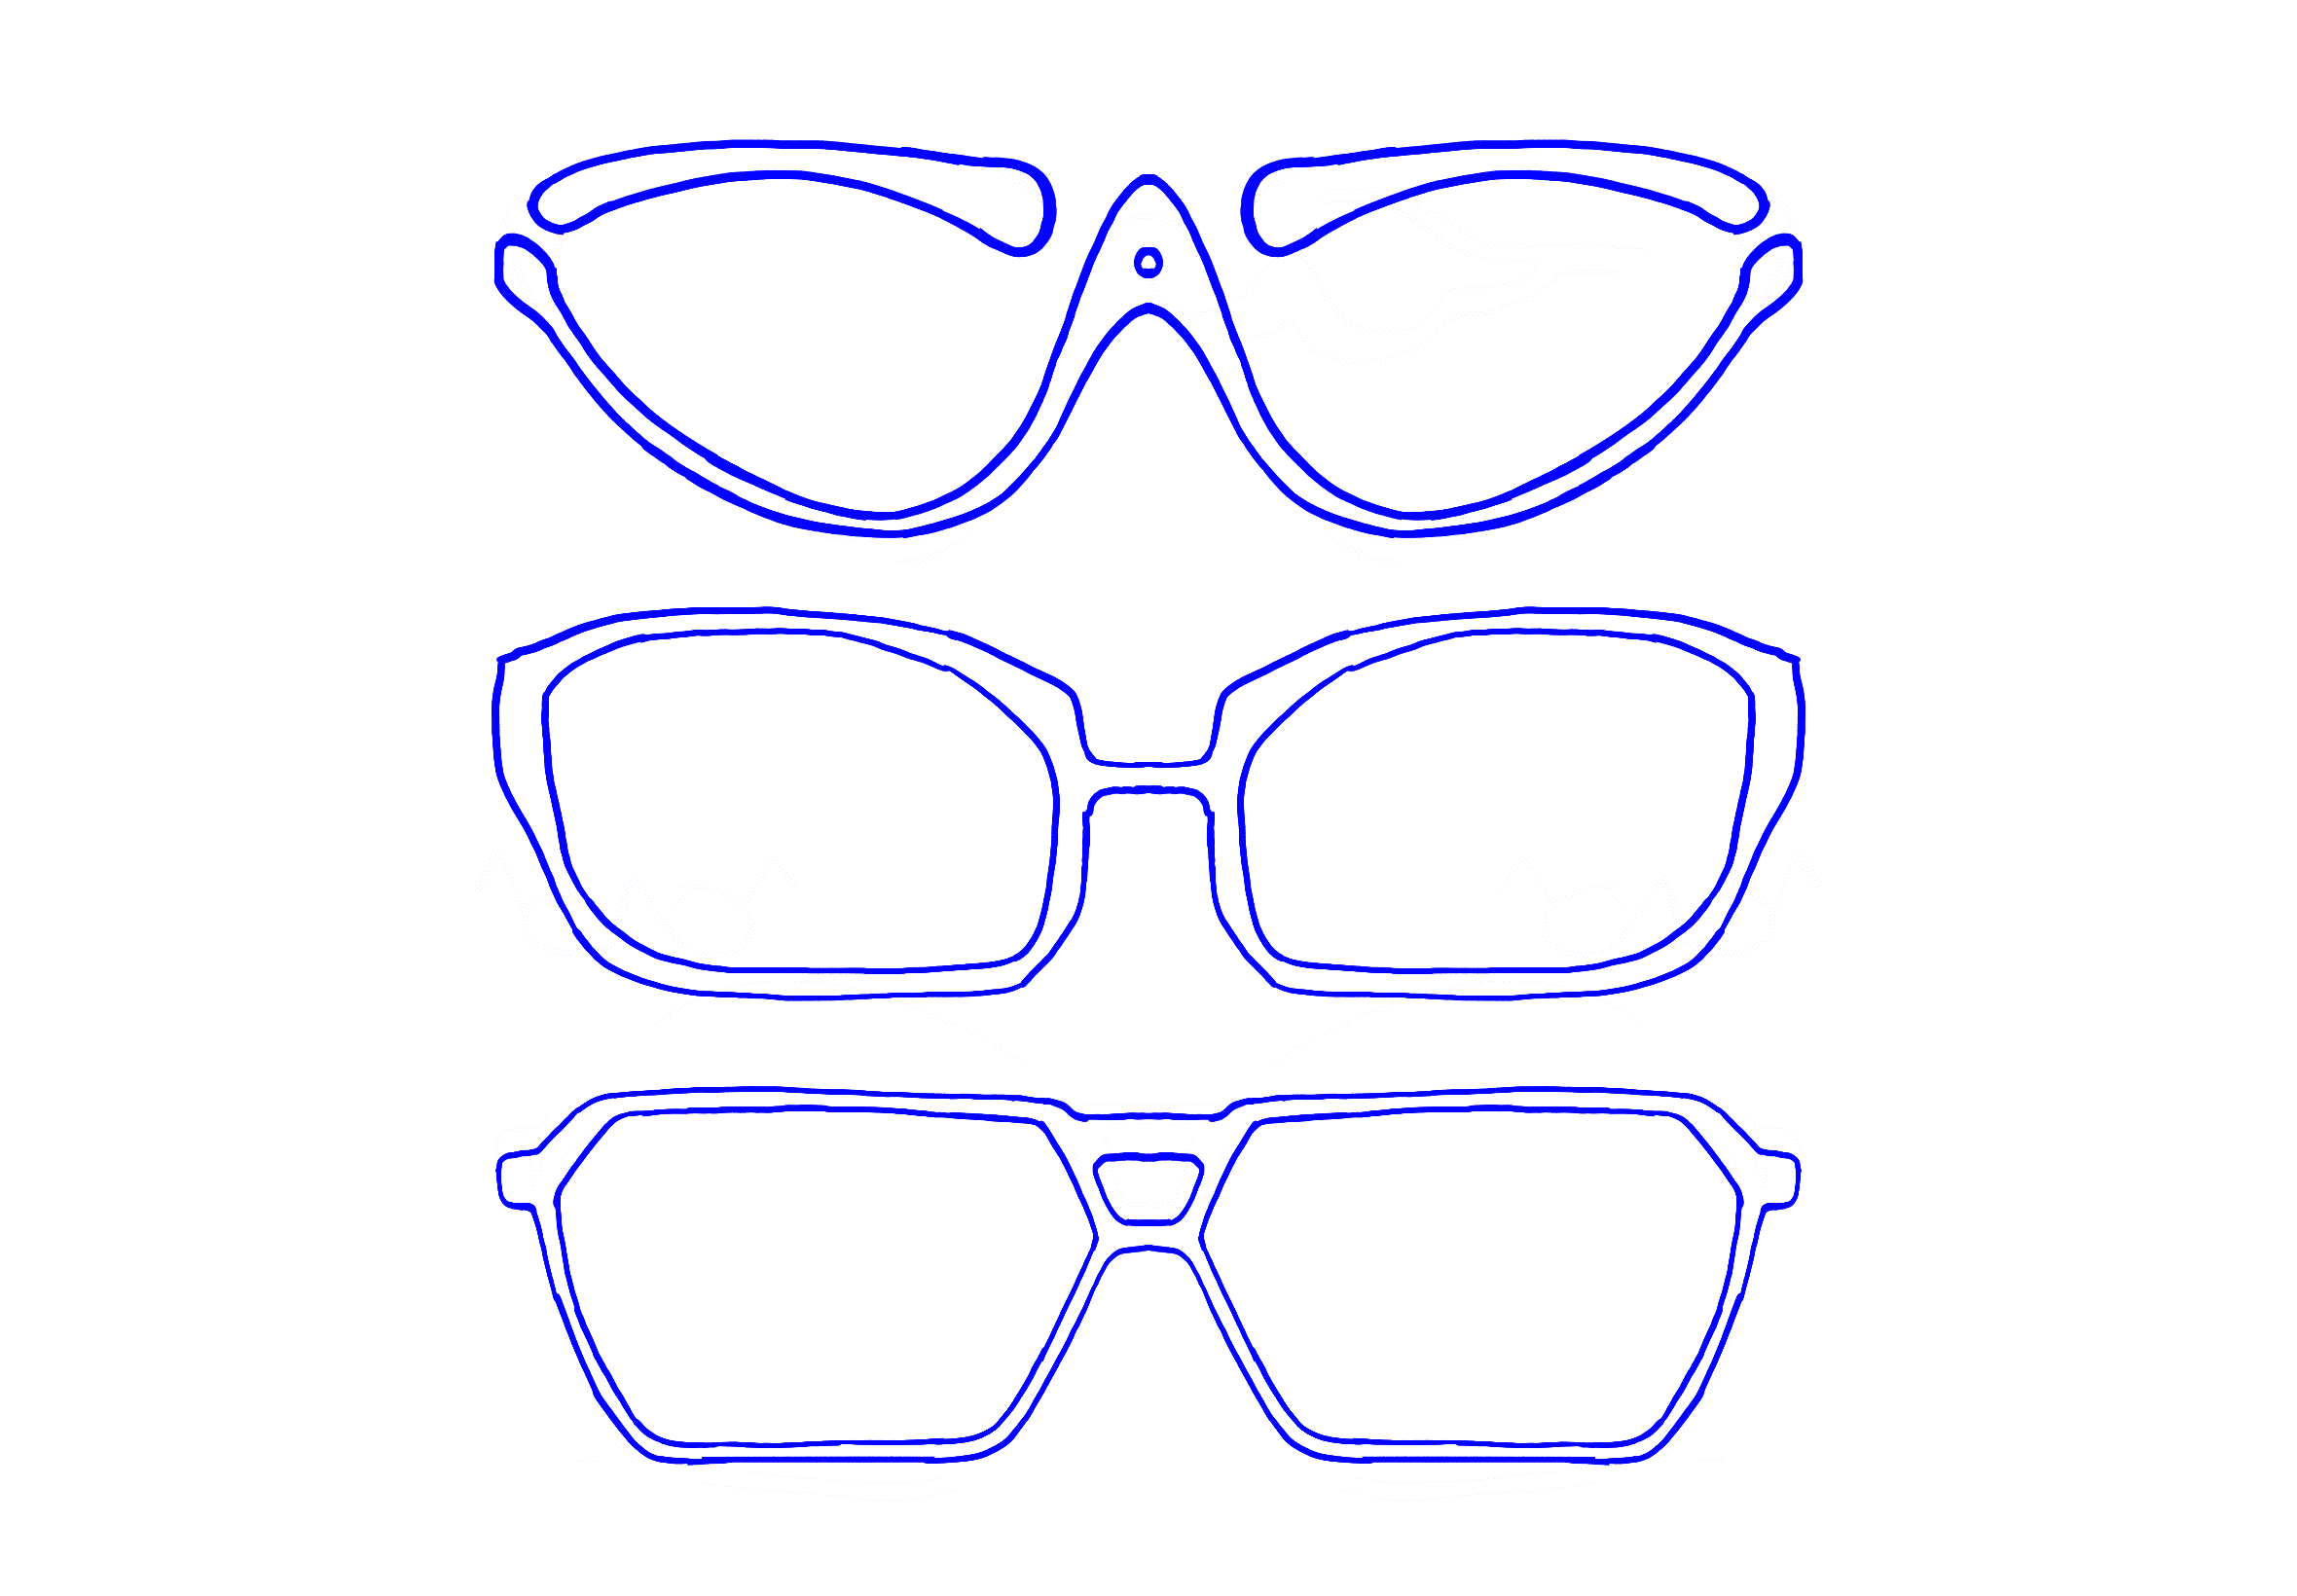
I began sketching three different frame designs and tried to model the first one in Blender. However, I quickly ran into difficulties. Navigating the software using a trackpad was frustrating and even basic operations like extrusion felt unintuitive. More importantly, I struggled to accurately gauge the thickness of the frame, which made the process feel imprecise and discouraging. Faced with this frustration, I decided to switch to a method I was more familiar with.

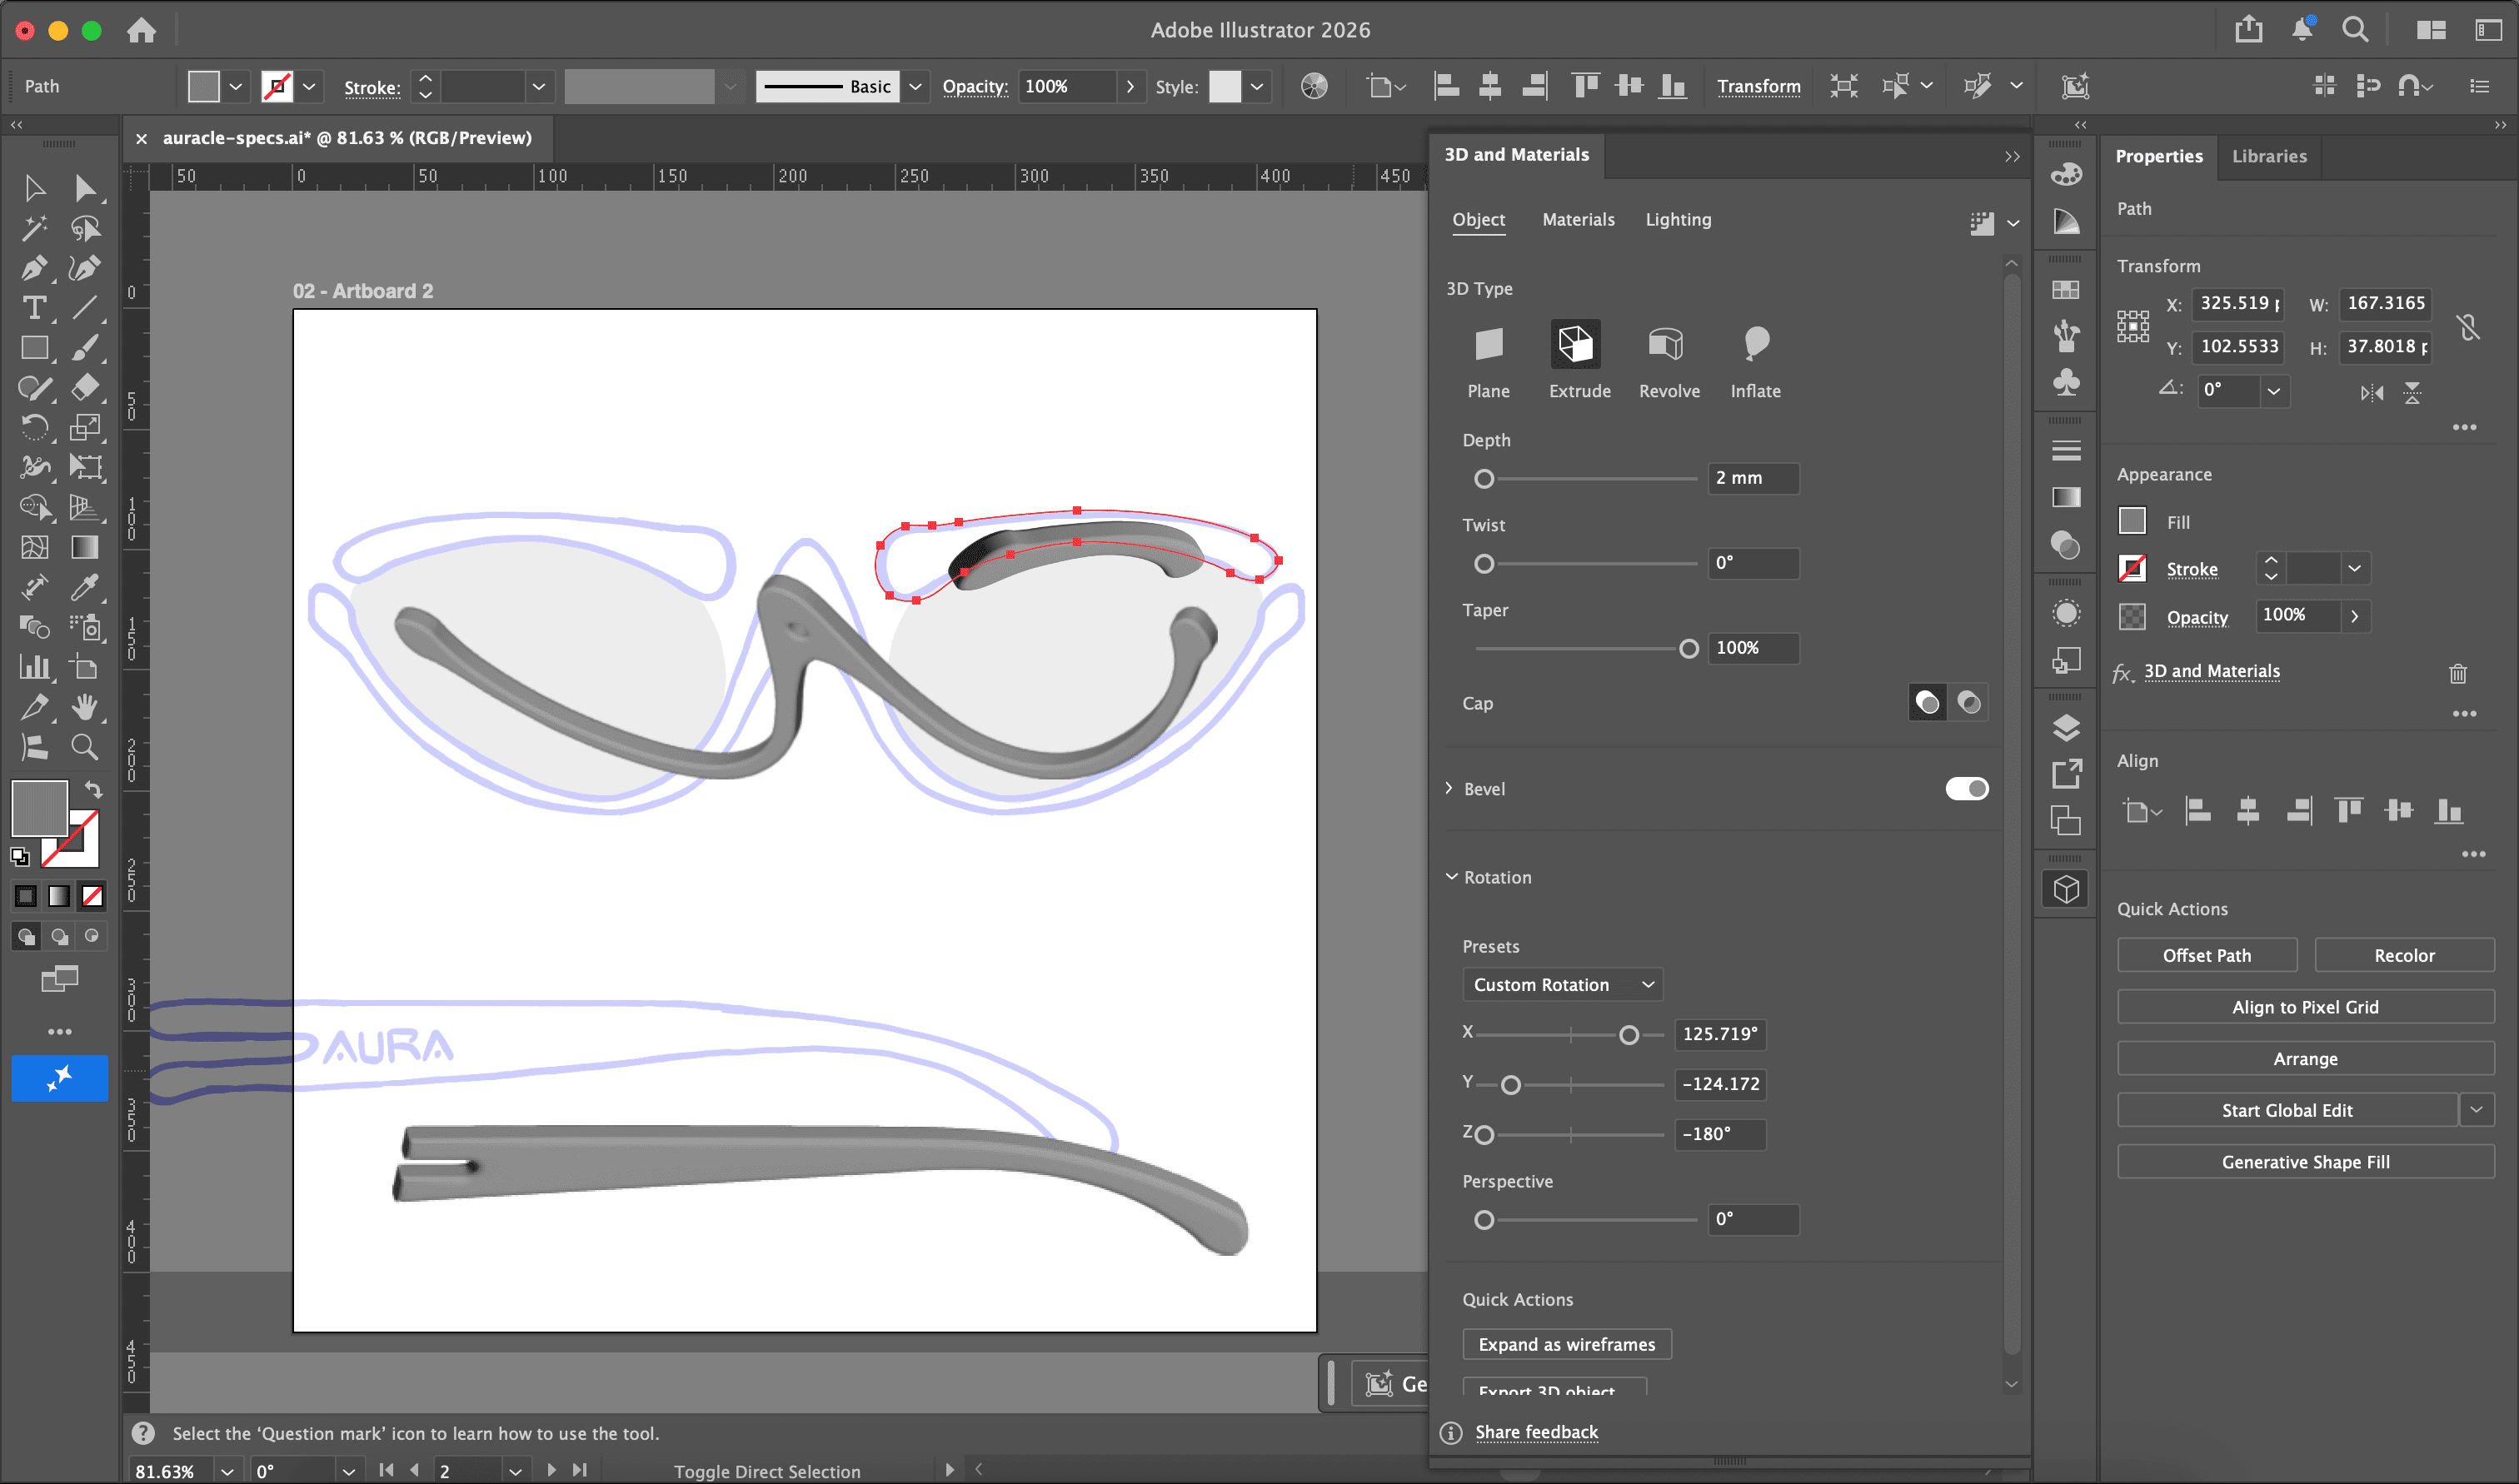
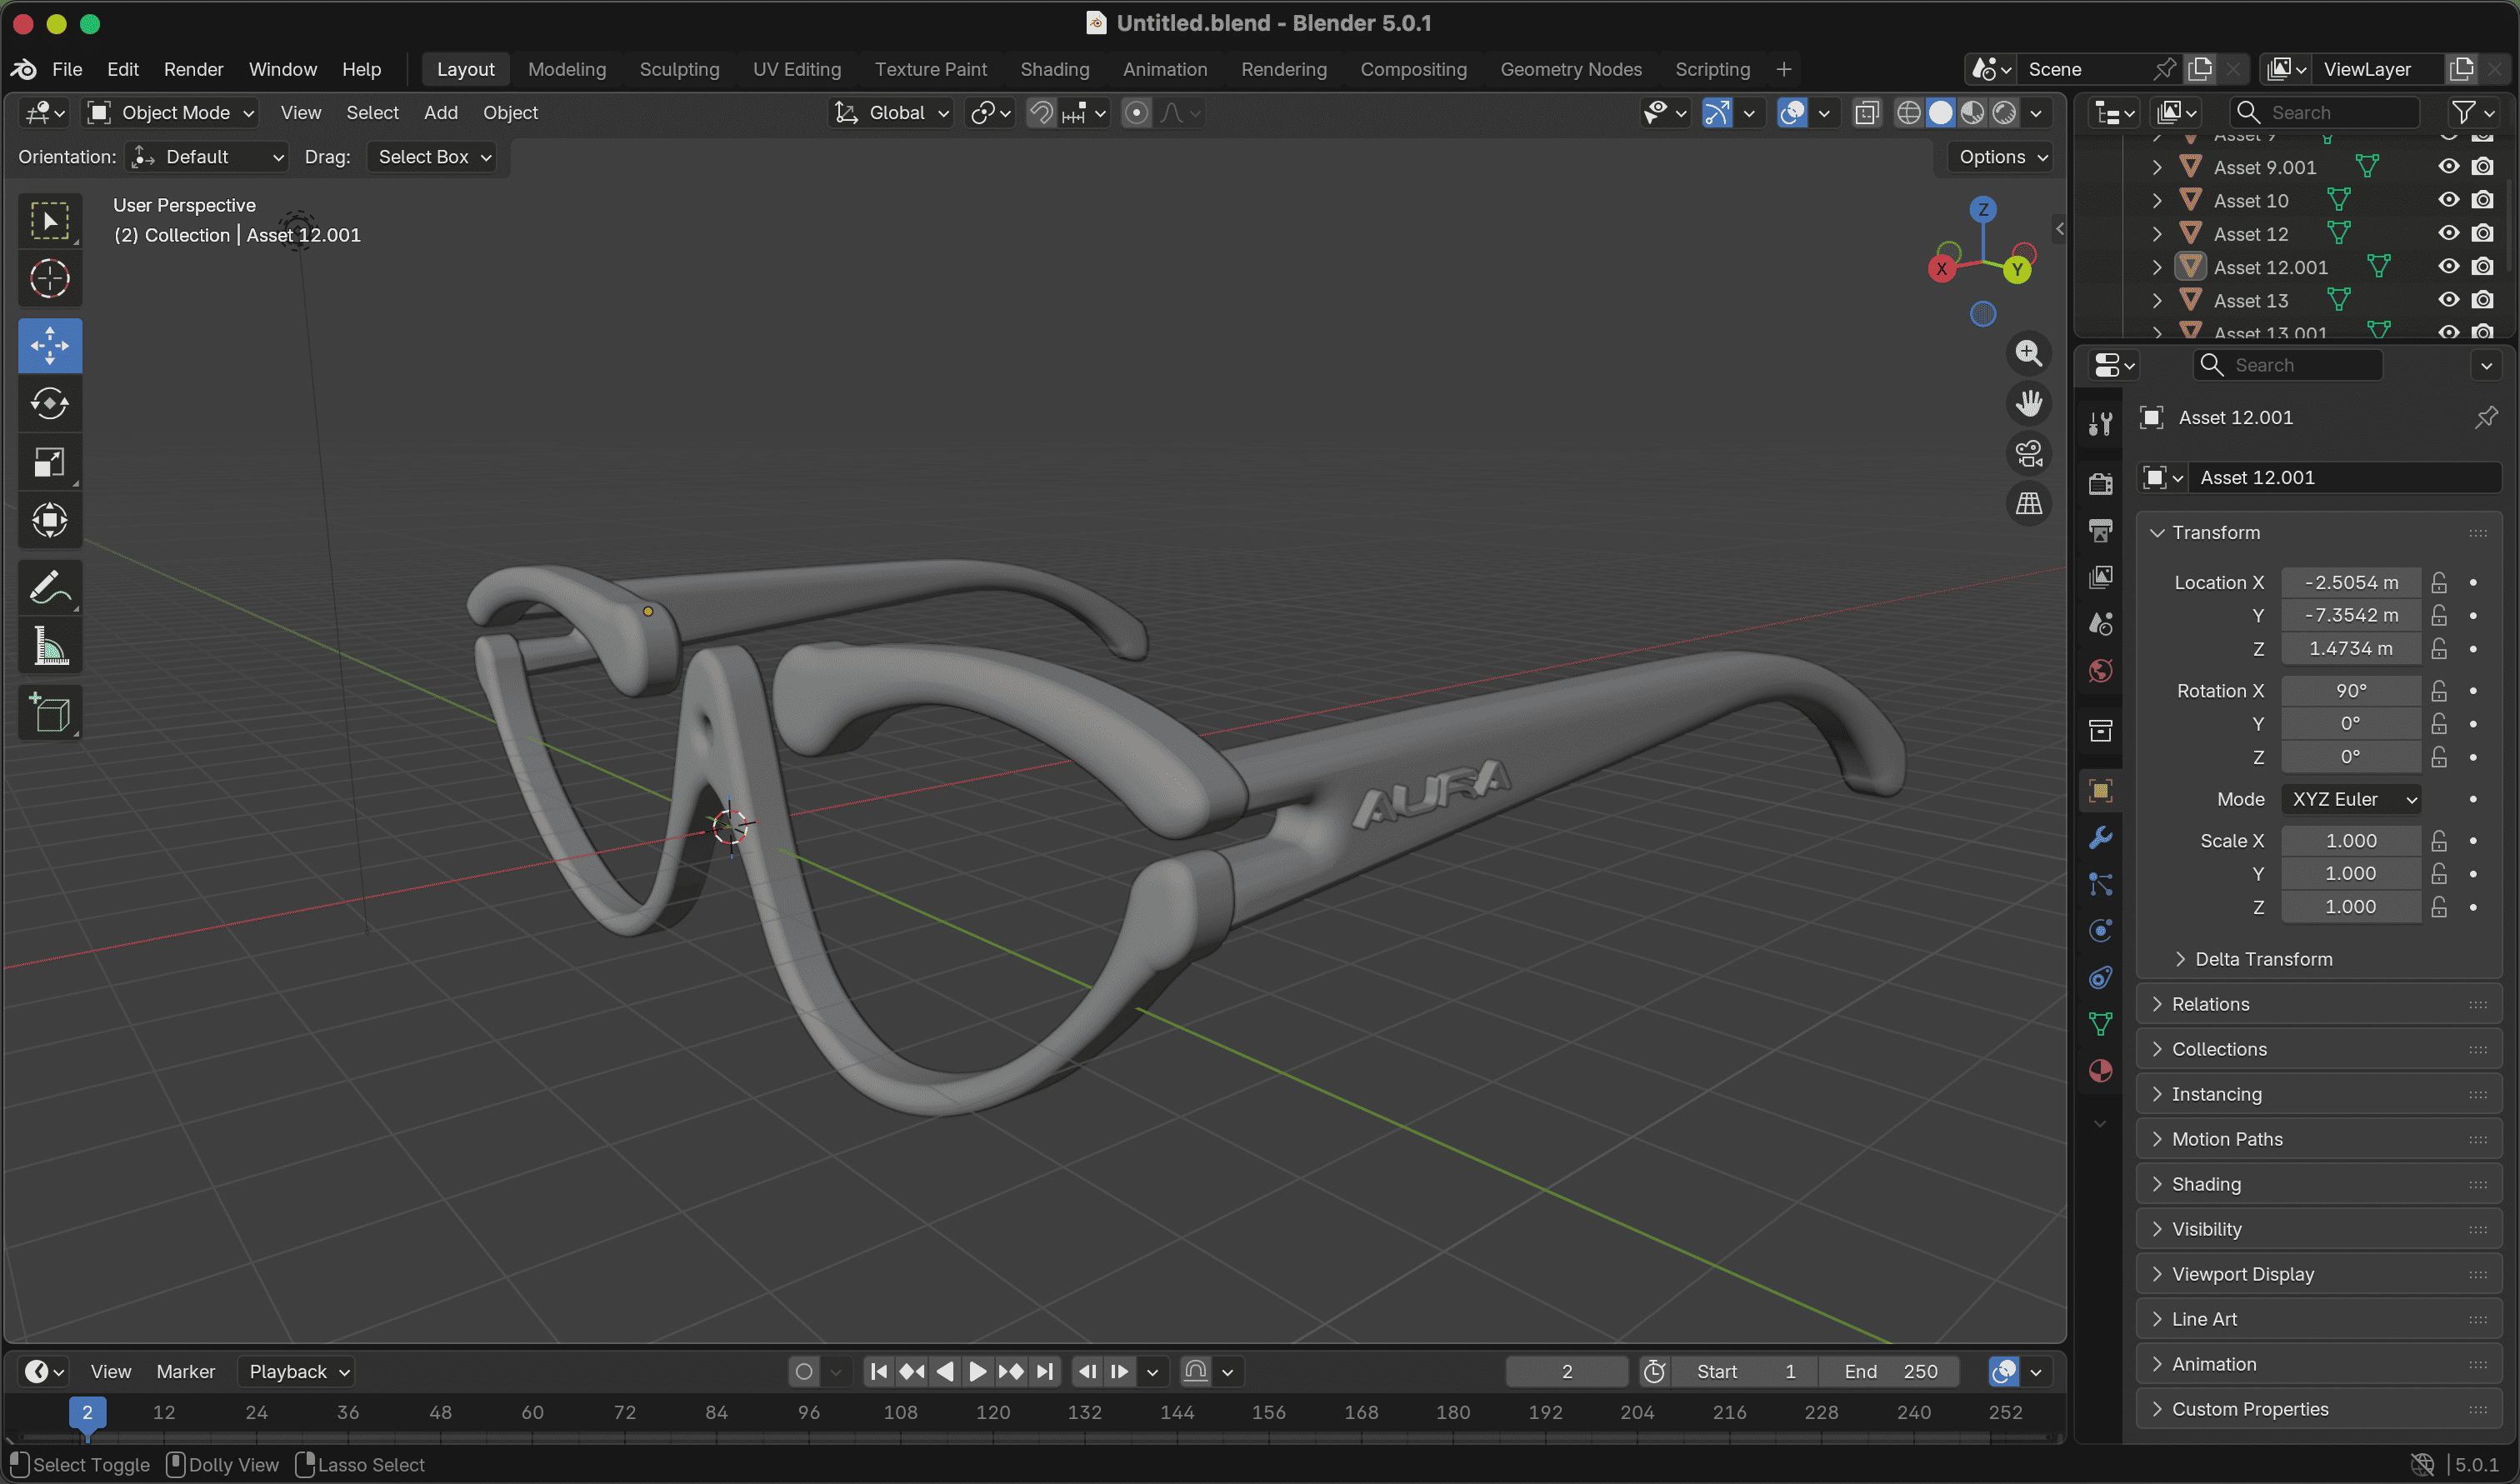
Back in Year 2, I had experience exporting 3D assets from Illustrator into Blender as .obj file before. Illustrator allowed me to extrude vectors into 3D forms with much more control over thickness and bevel. (I’m pretty sure Blender can do it too, but I don’t know the software that well) Although this workflow required repeated exporting and importing of files, it allowed me to model the eyewear with greater confidence and precision.
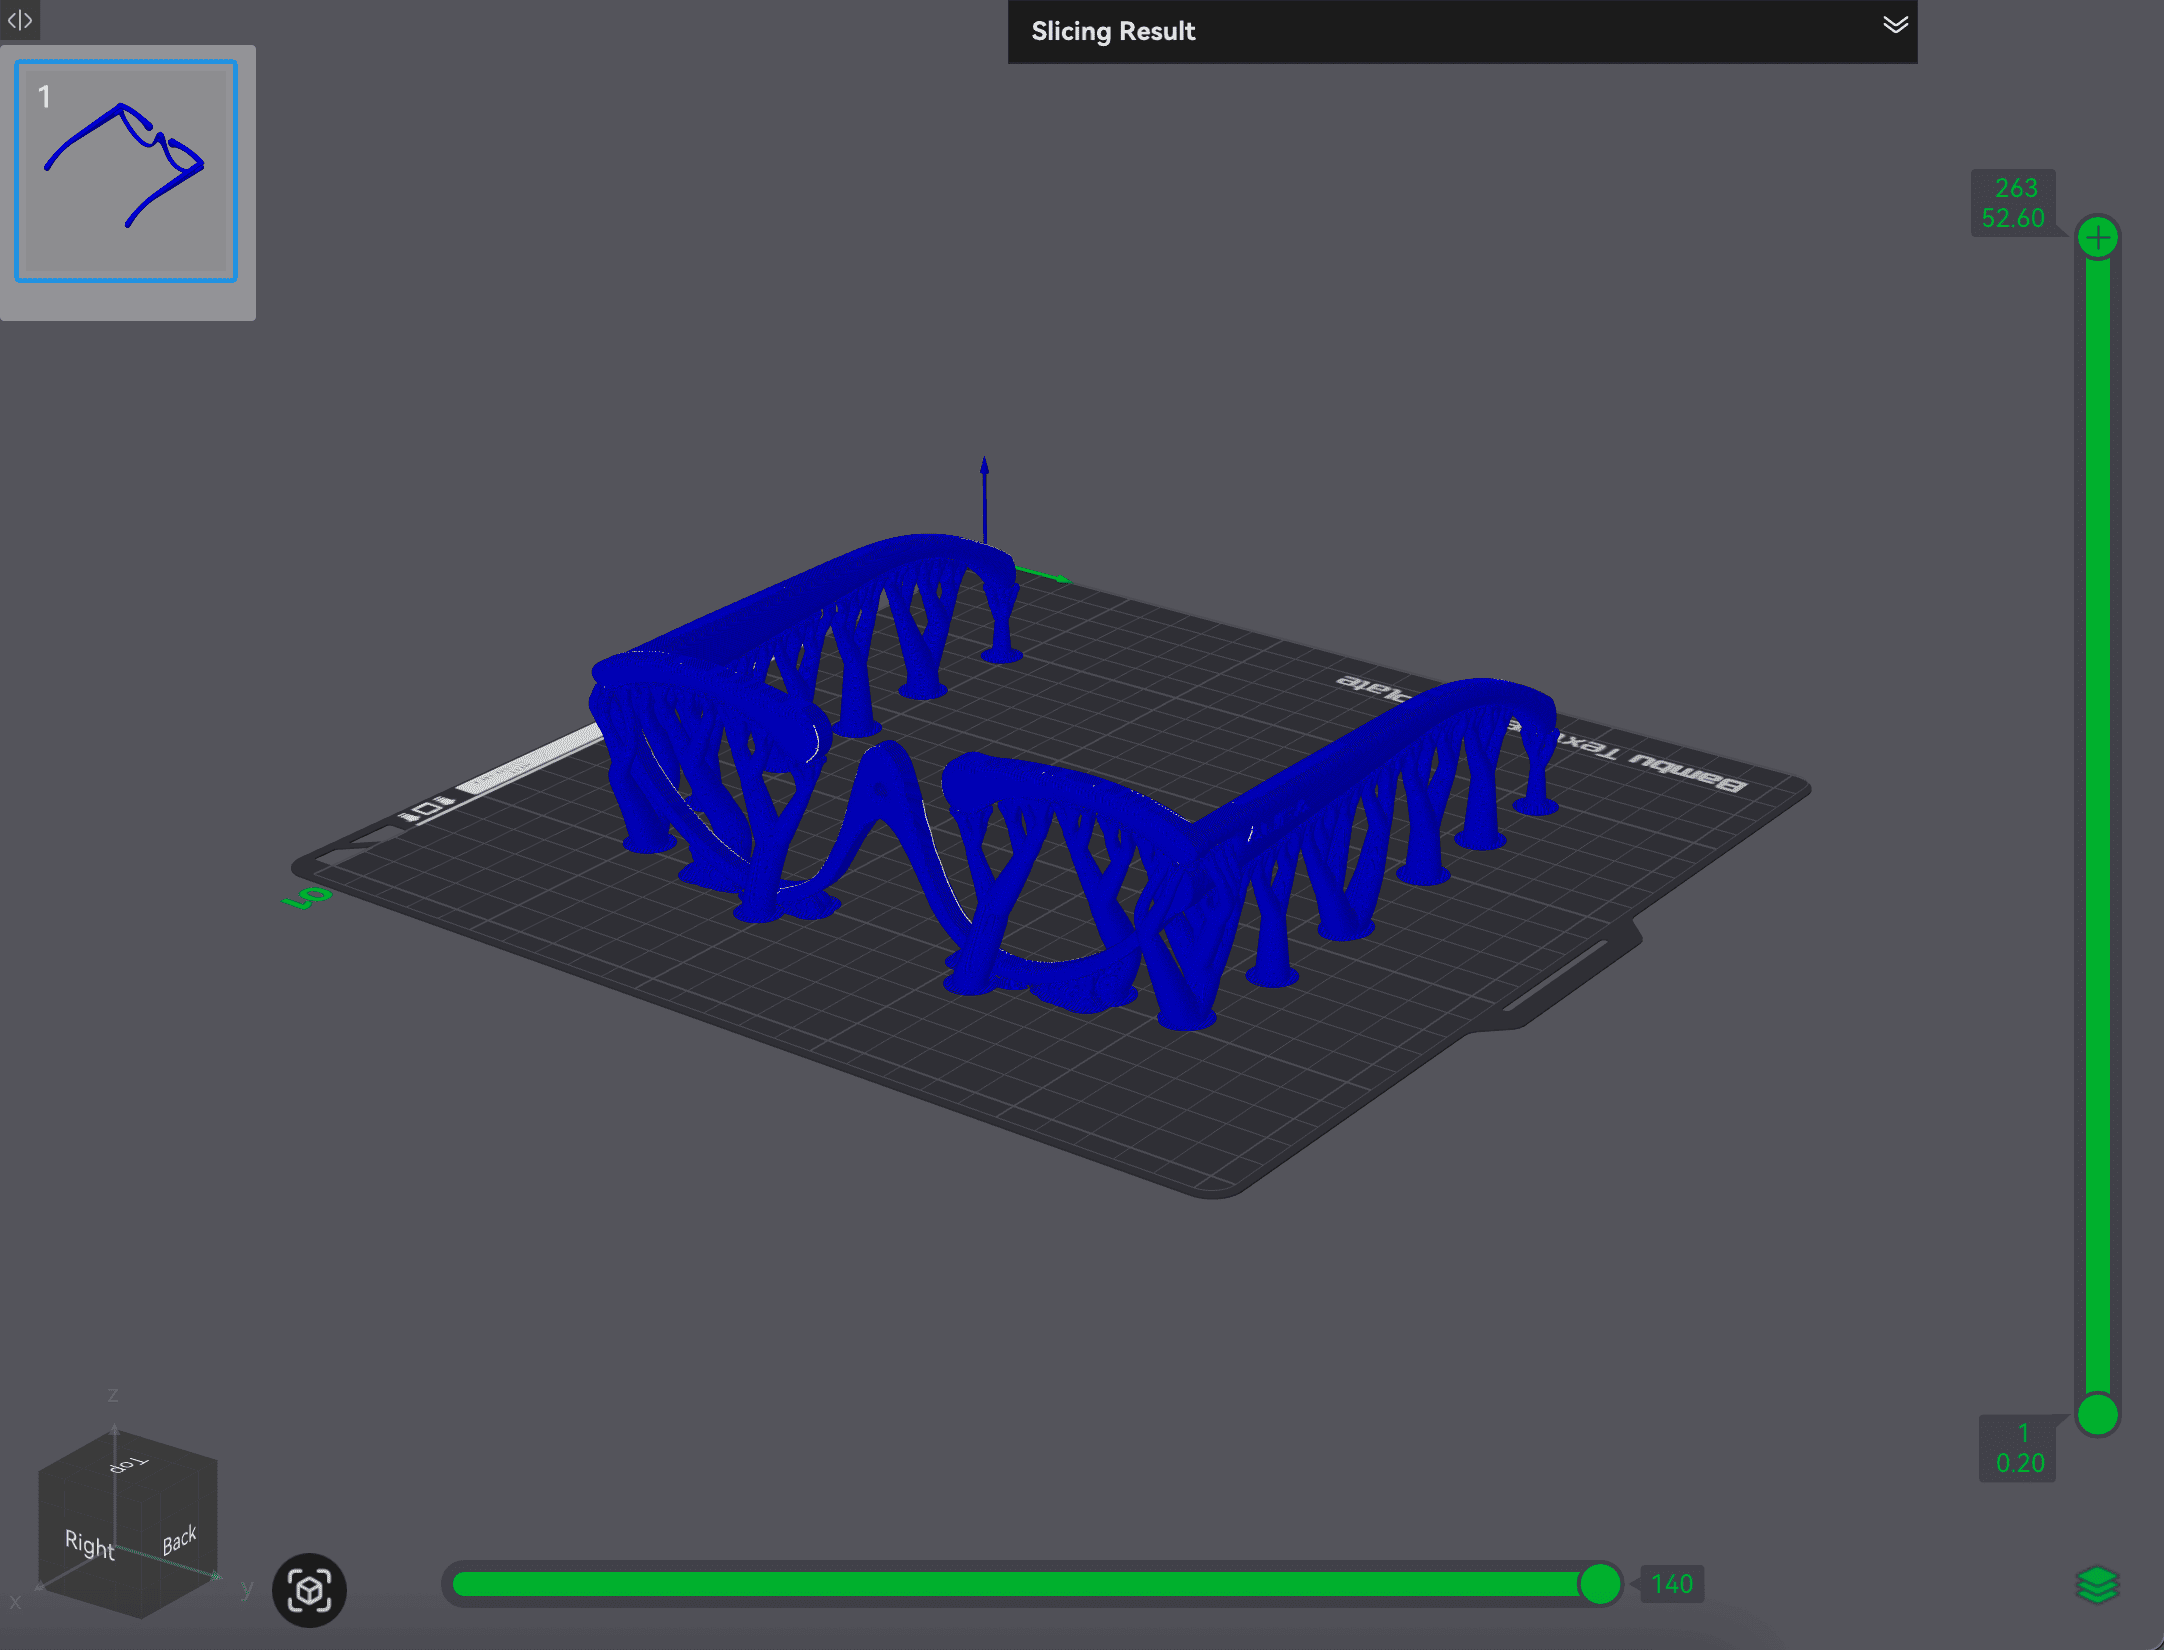
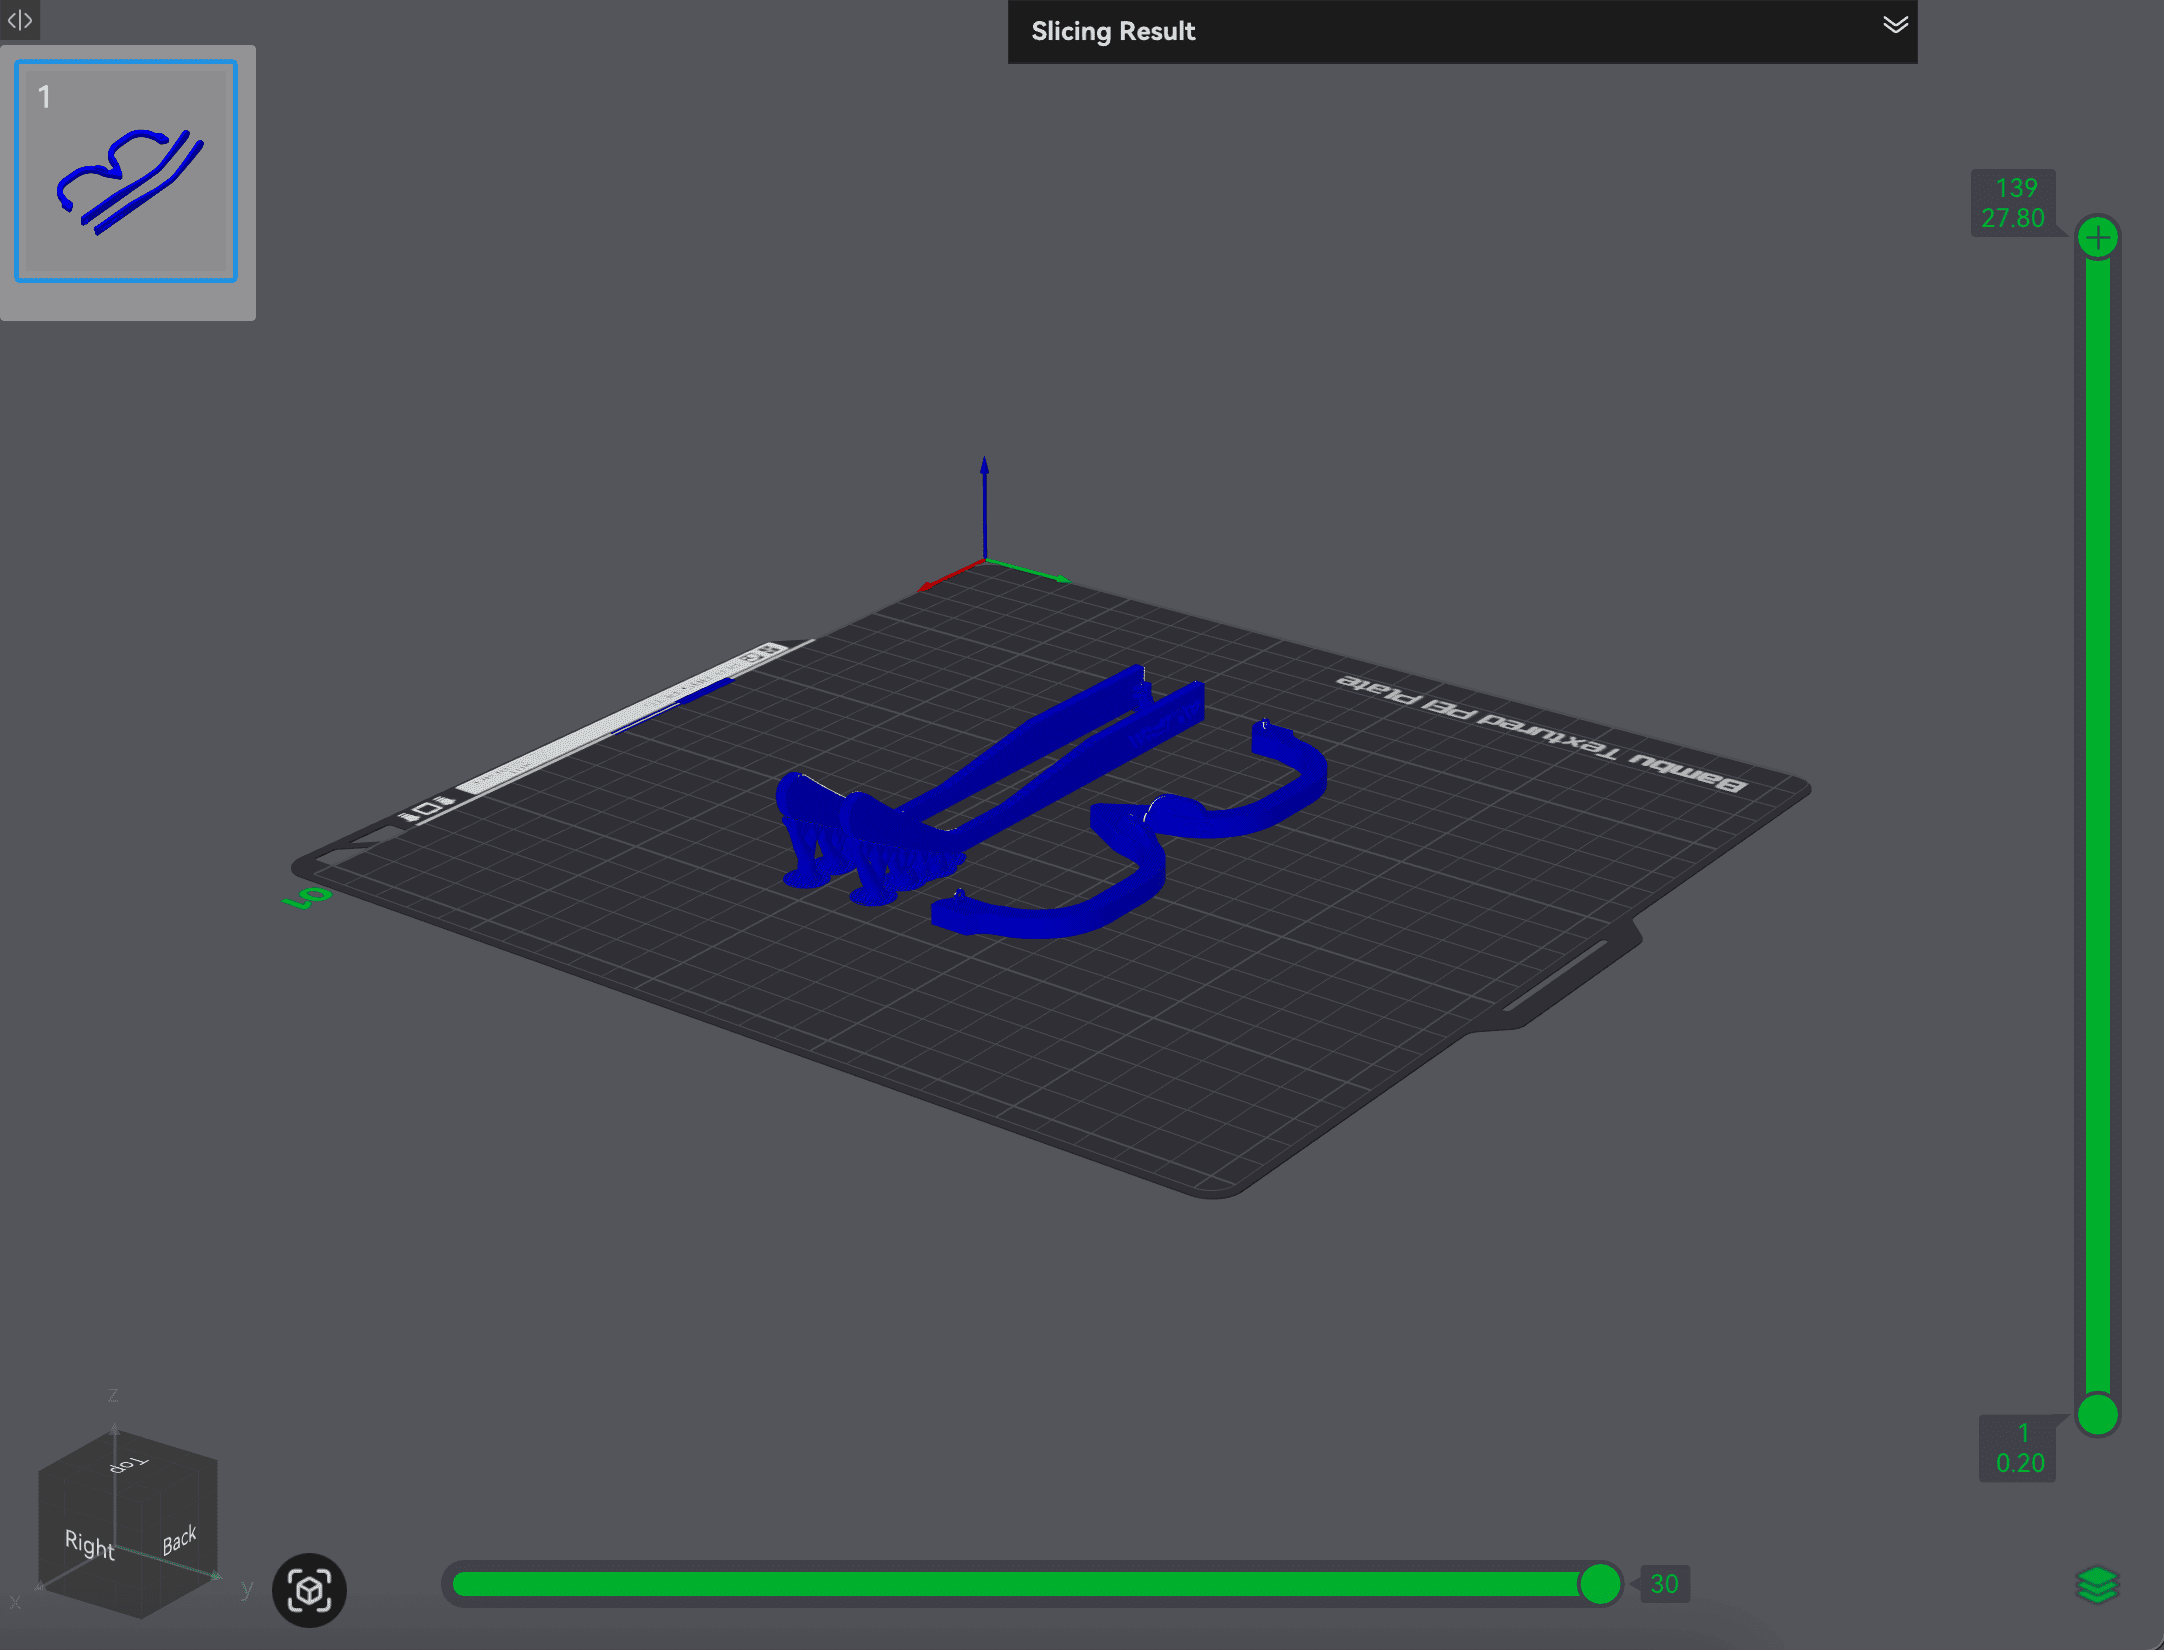
When I imported the model into BambuStudio, I was surprised by how long the print would take. I had to try different orientations to find the shortest printing time.
① Upright — 2 hours 31 minutes
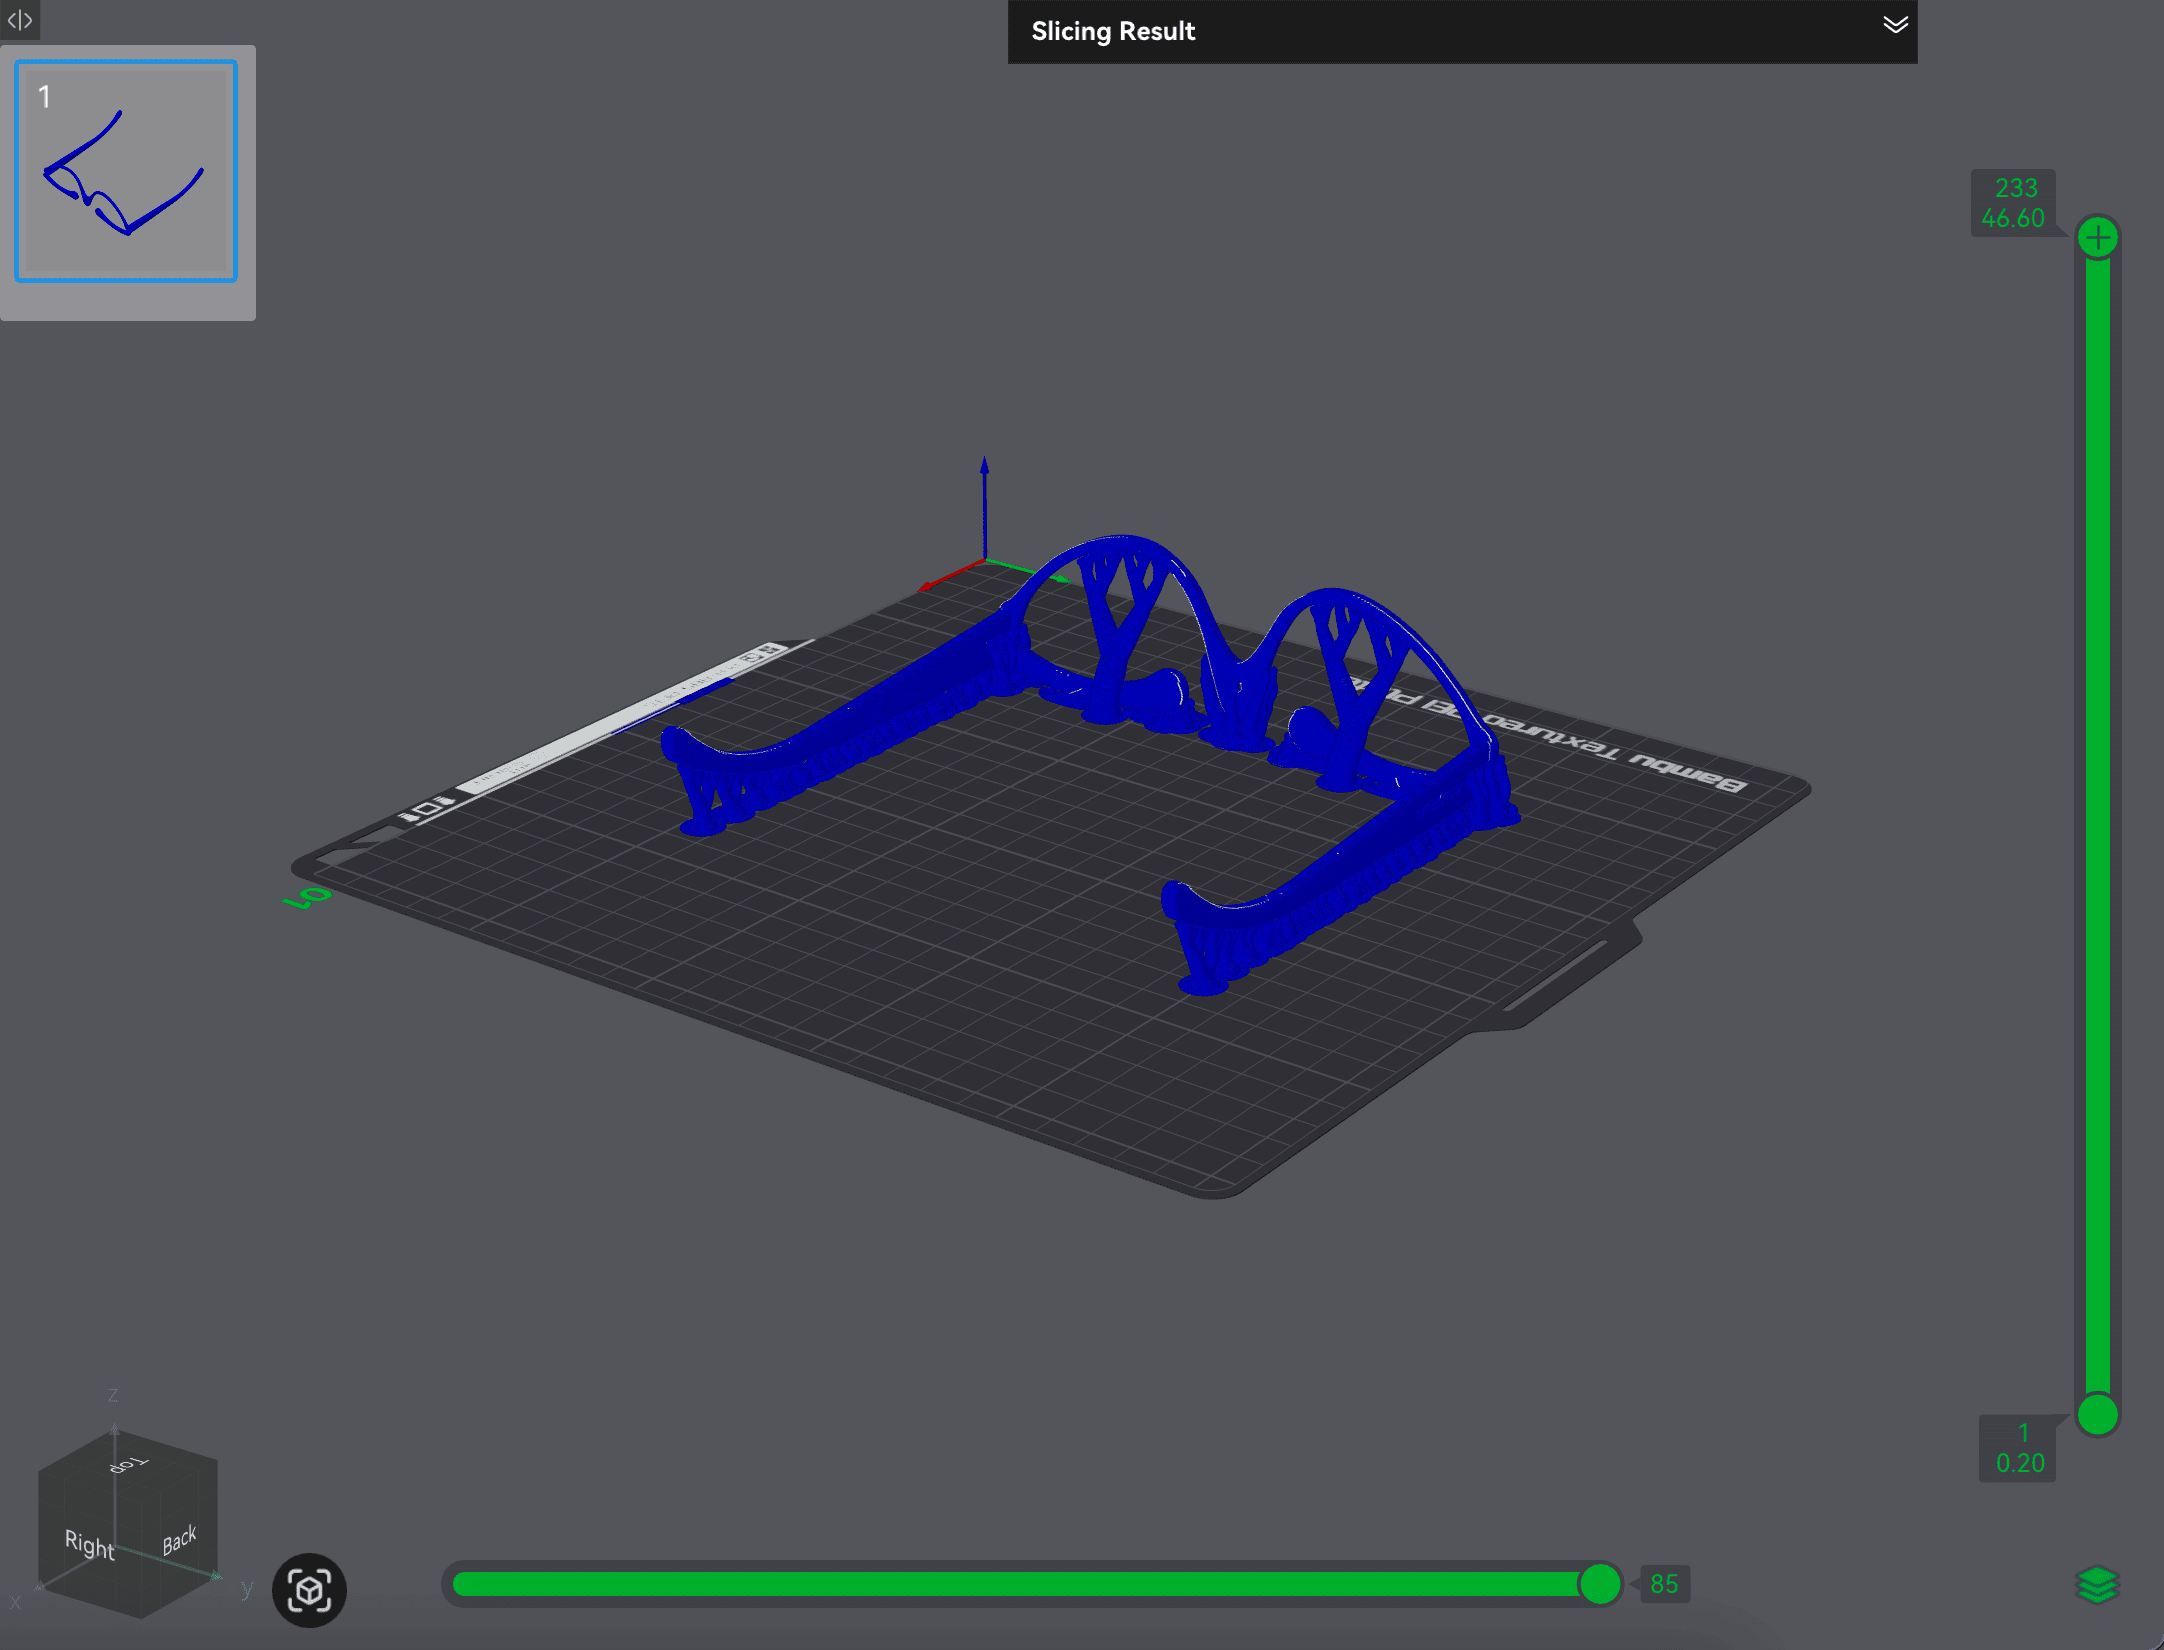
② Upside Down — 2 hours 8 minutes
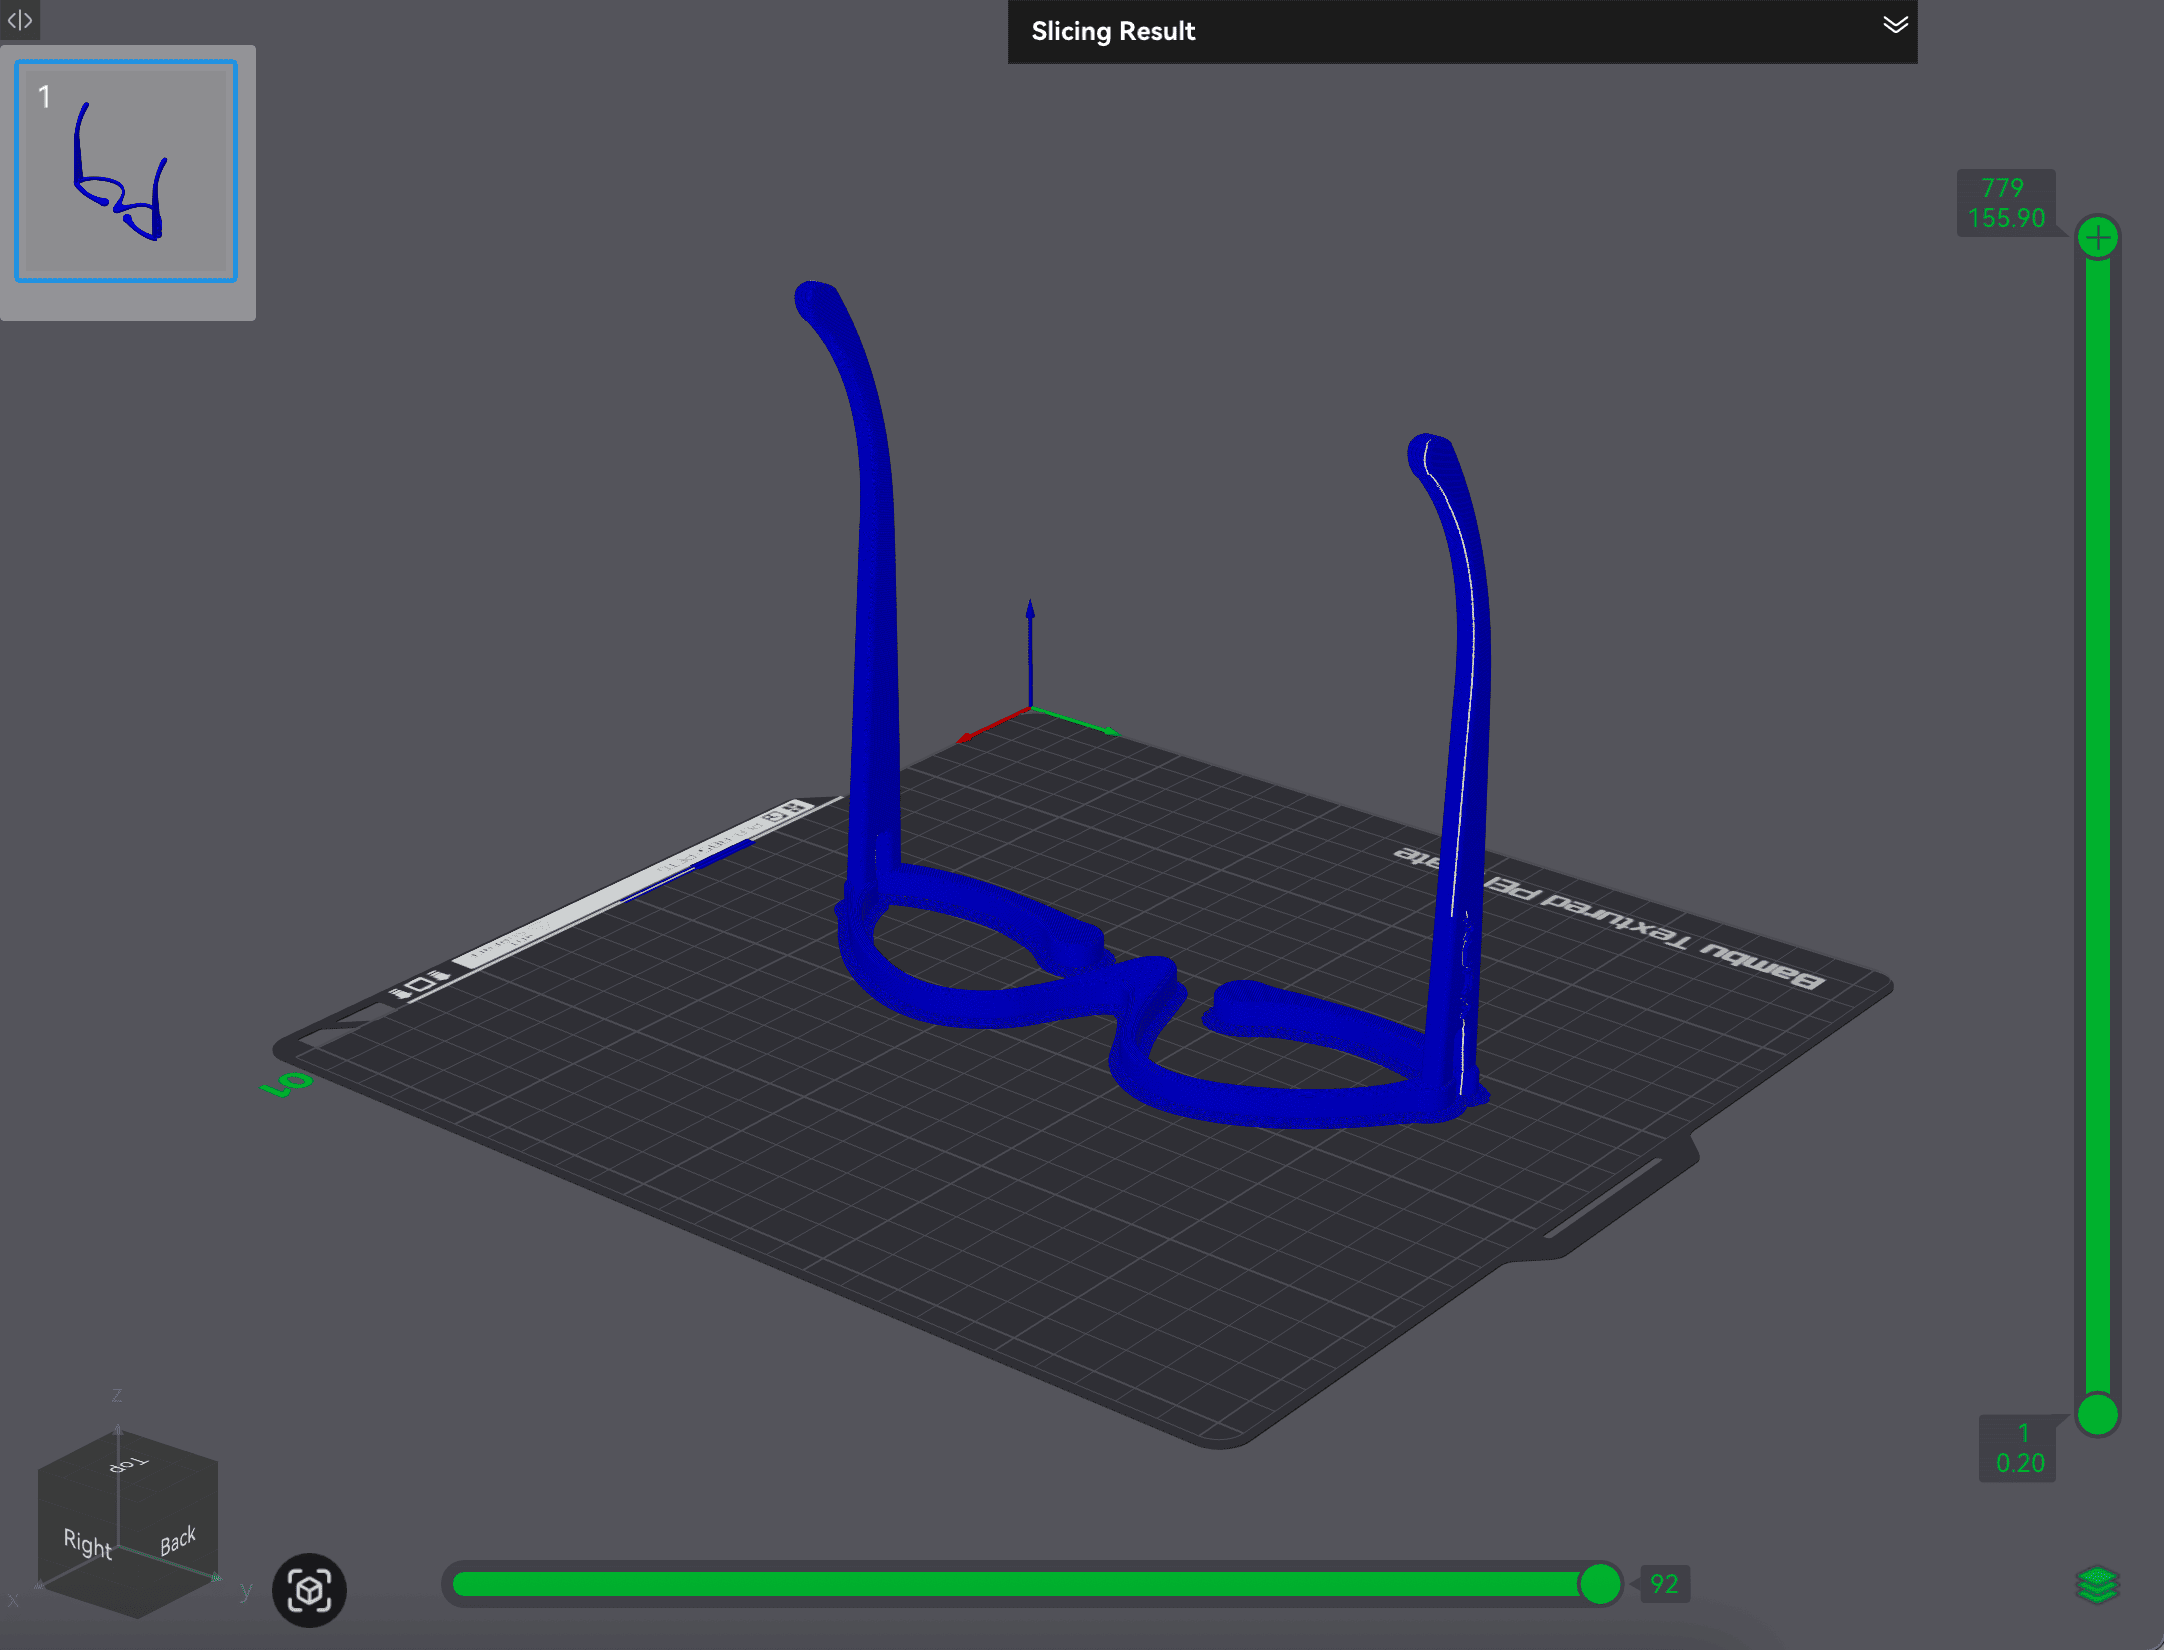
③ Vertical — 1 hour 26 minutes
After reviewing the model with Carissa, she suggested deconstructing the eyewear into separate components and assembling them together after printing. While I had considered this earlier, I initially chose to print it as a single piece for simplicity. However, I realised that this decision overlooked the printing efficiency. Therefore, I revised the design and repeated the entire process.
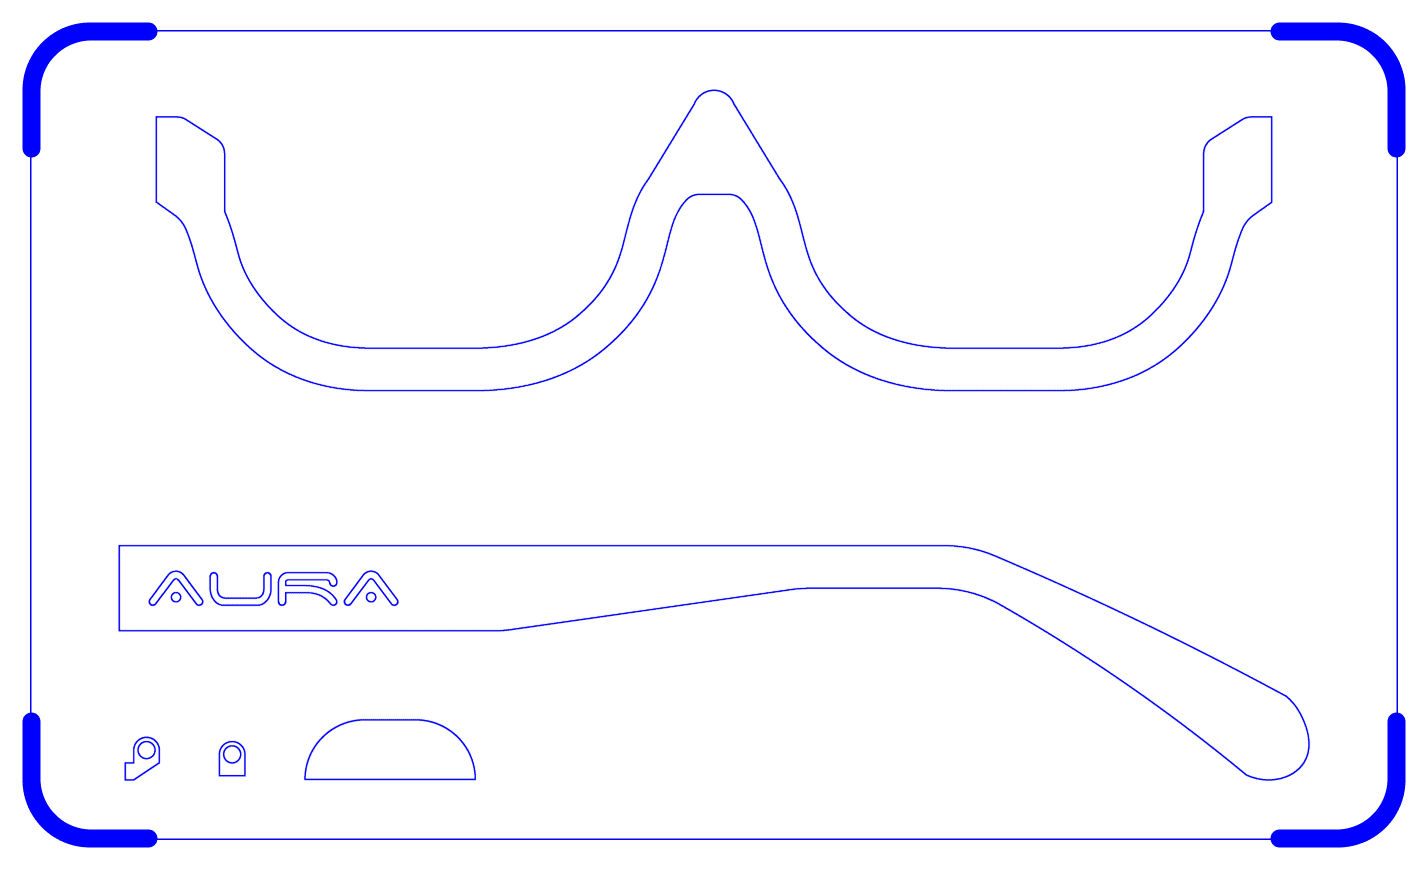
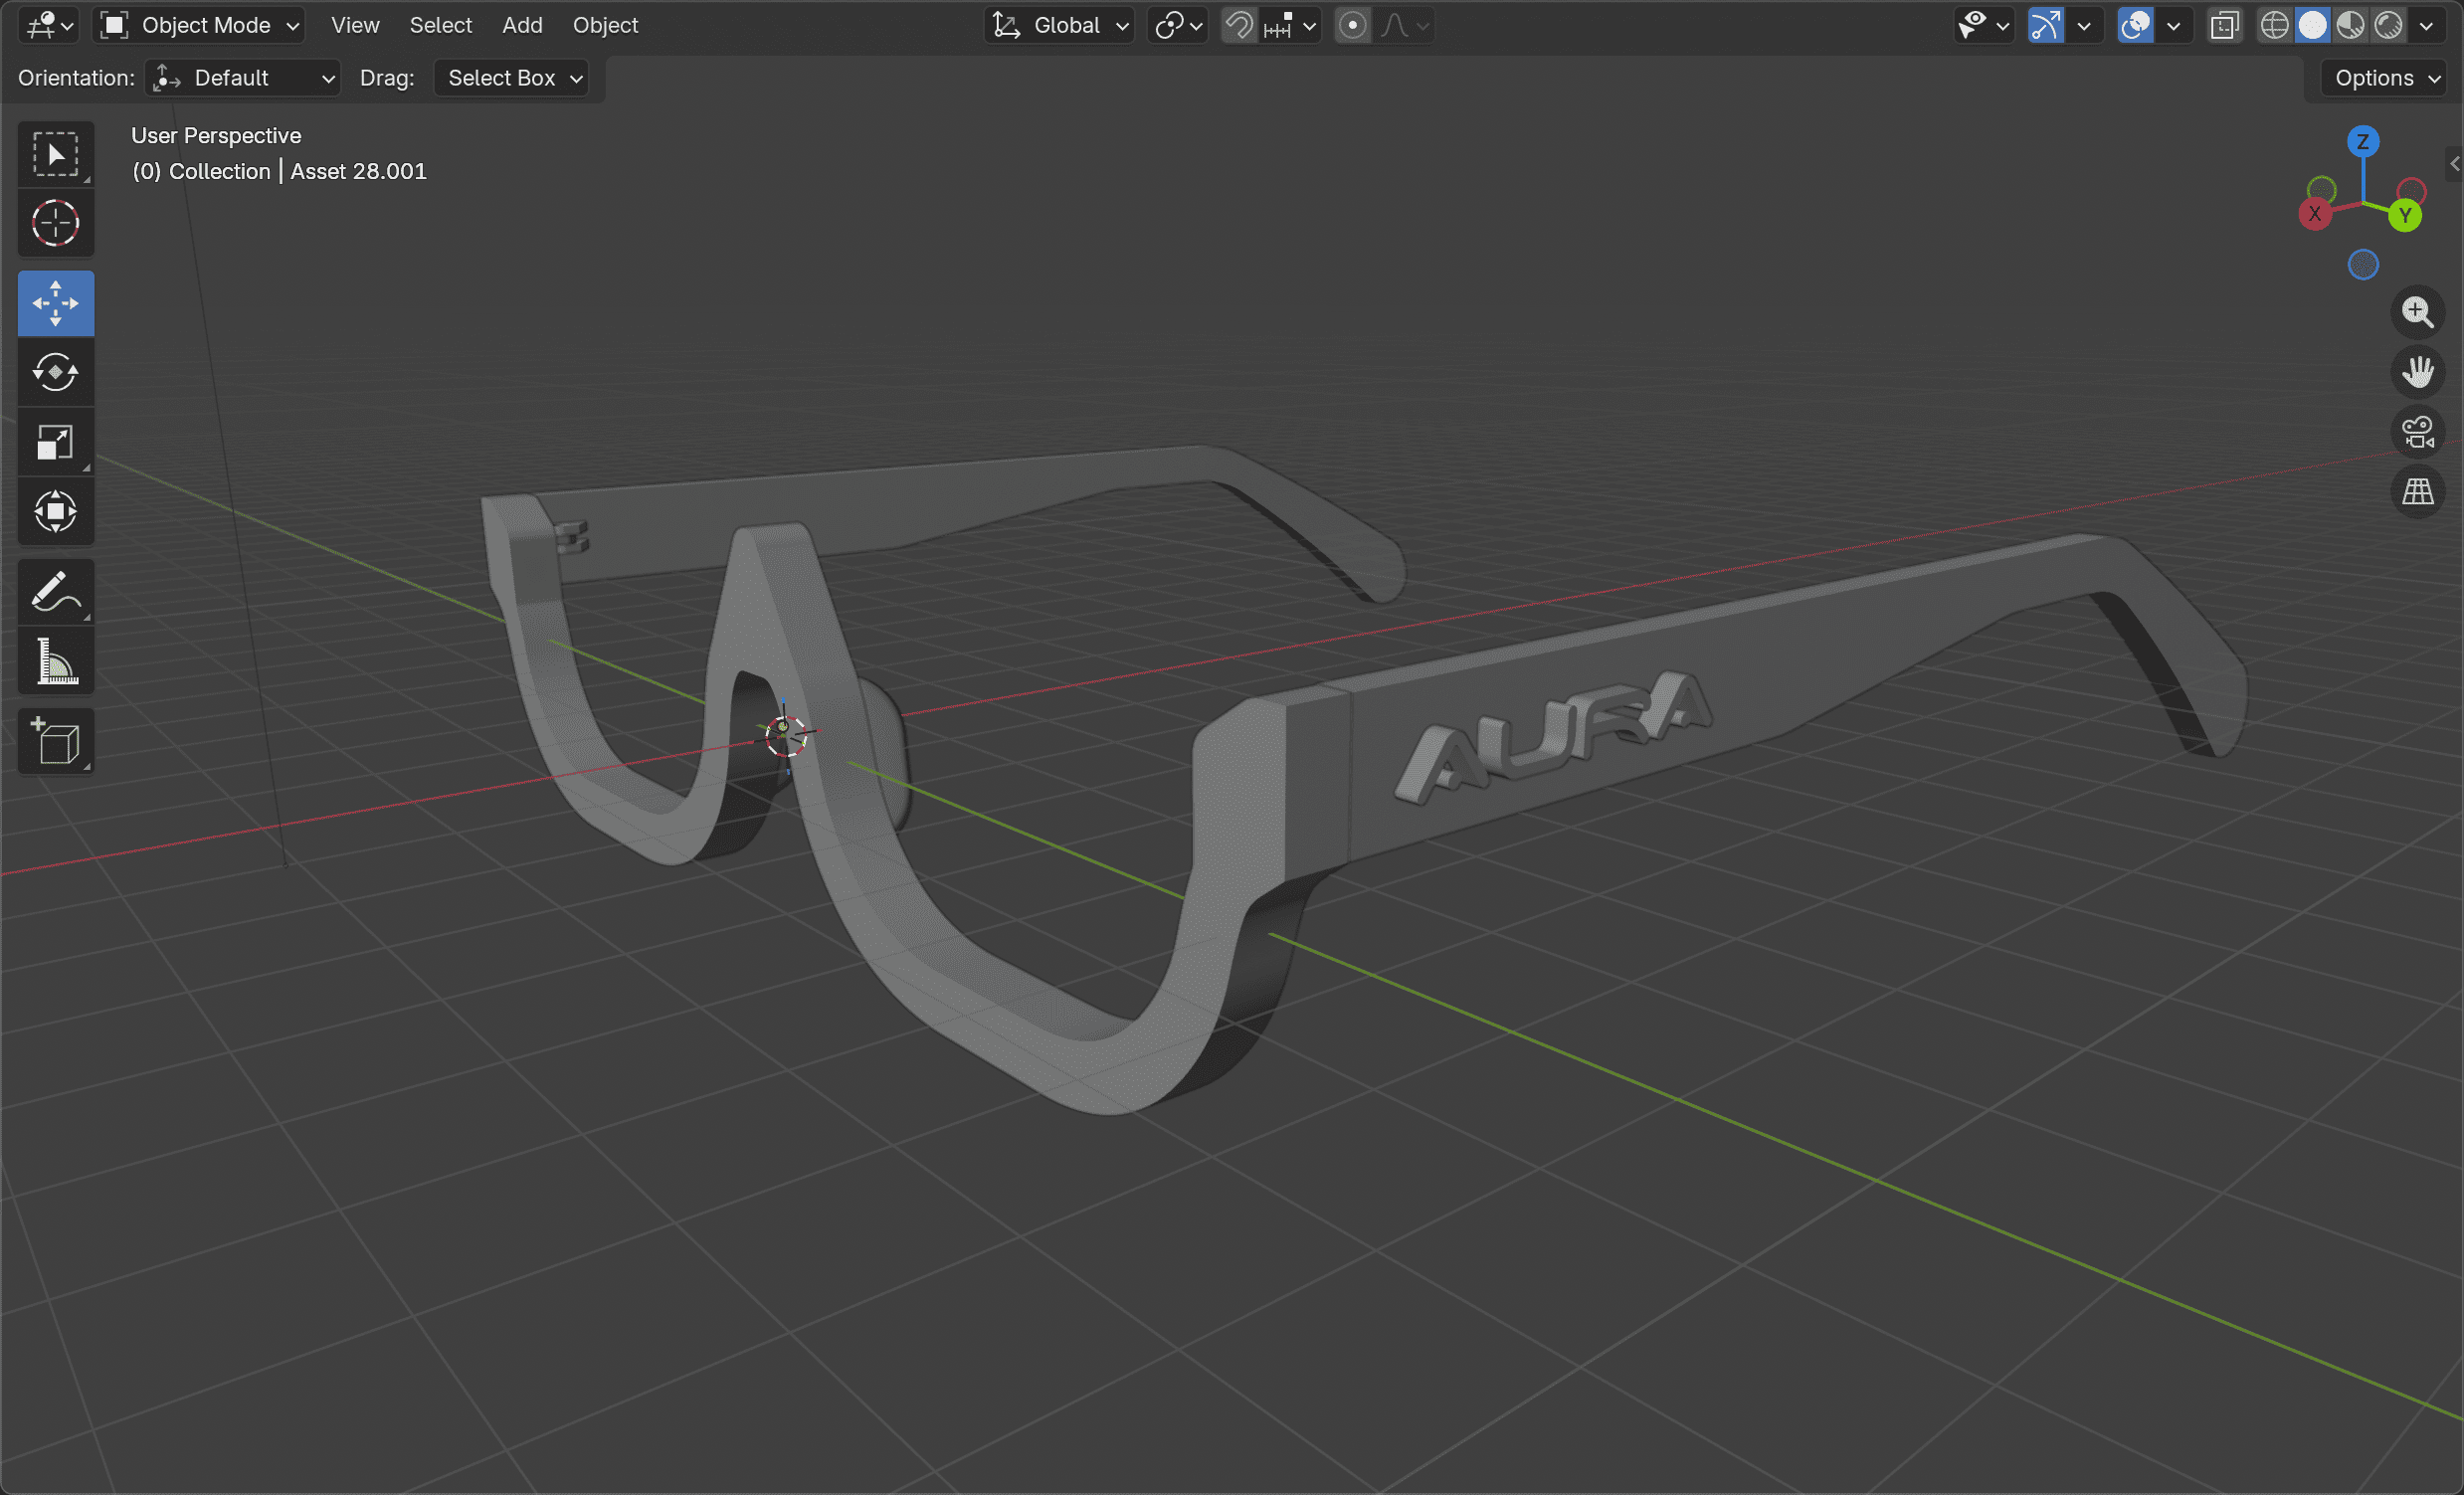
① I simplified the frame by reducing curvature and removing the top section, making it easier to fit lenses and incorporate connection points.
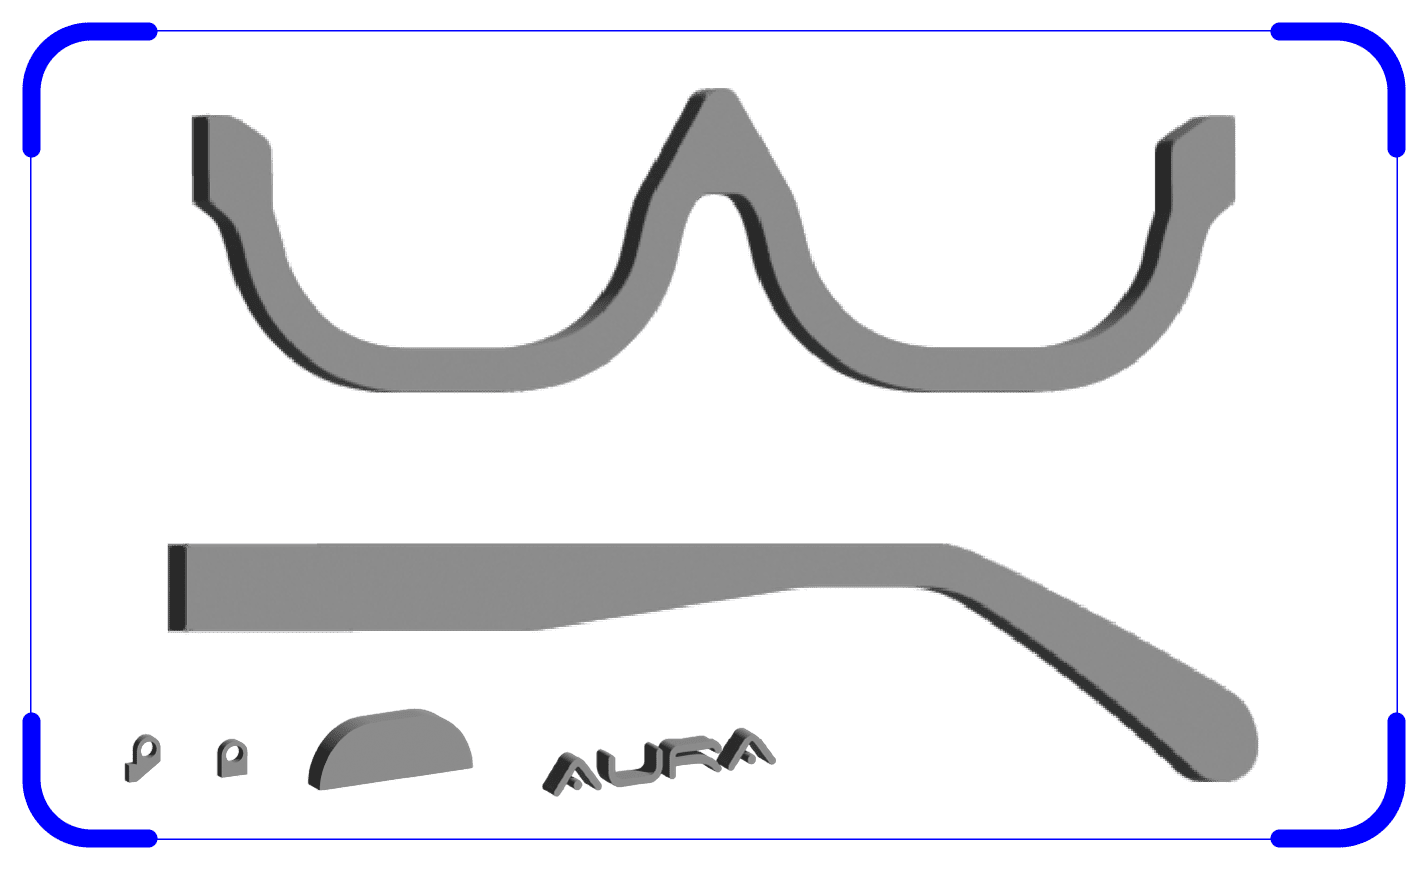
② I modelled each component individually in Illustrator and exported them as .obj files.
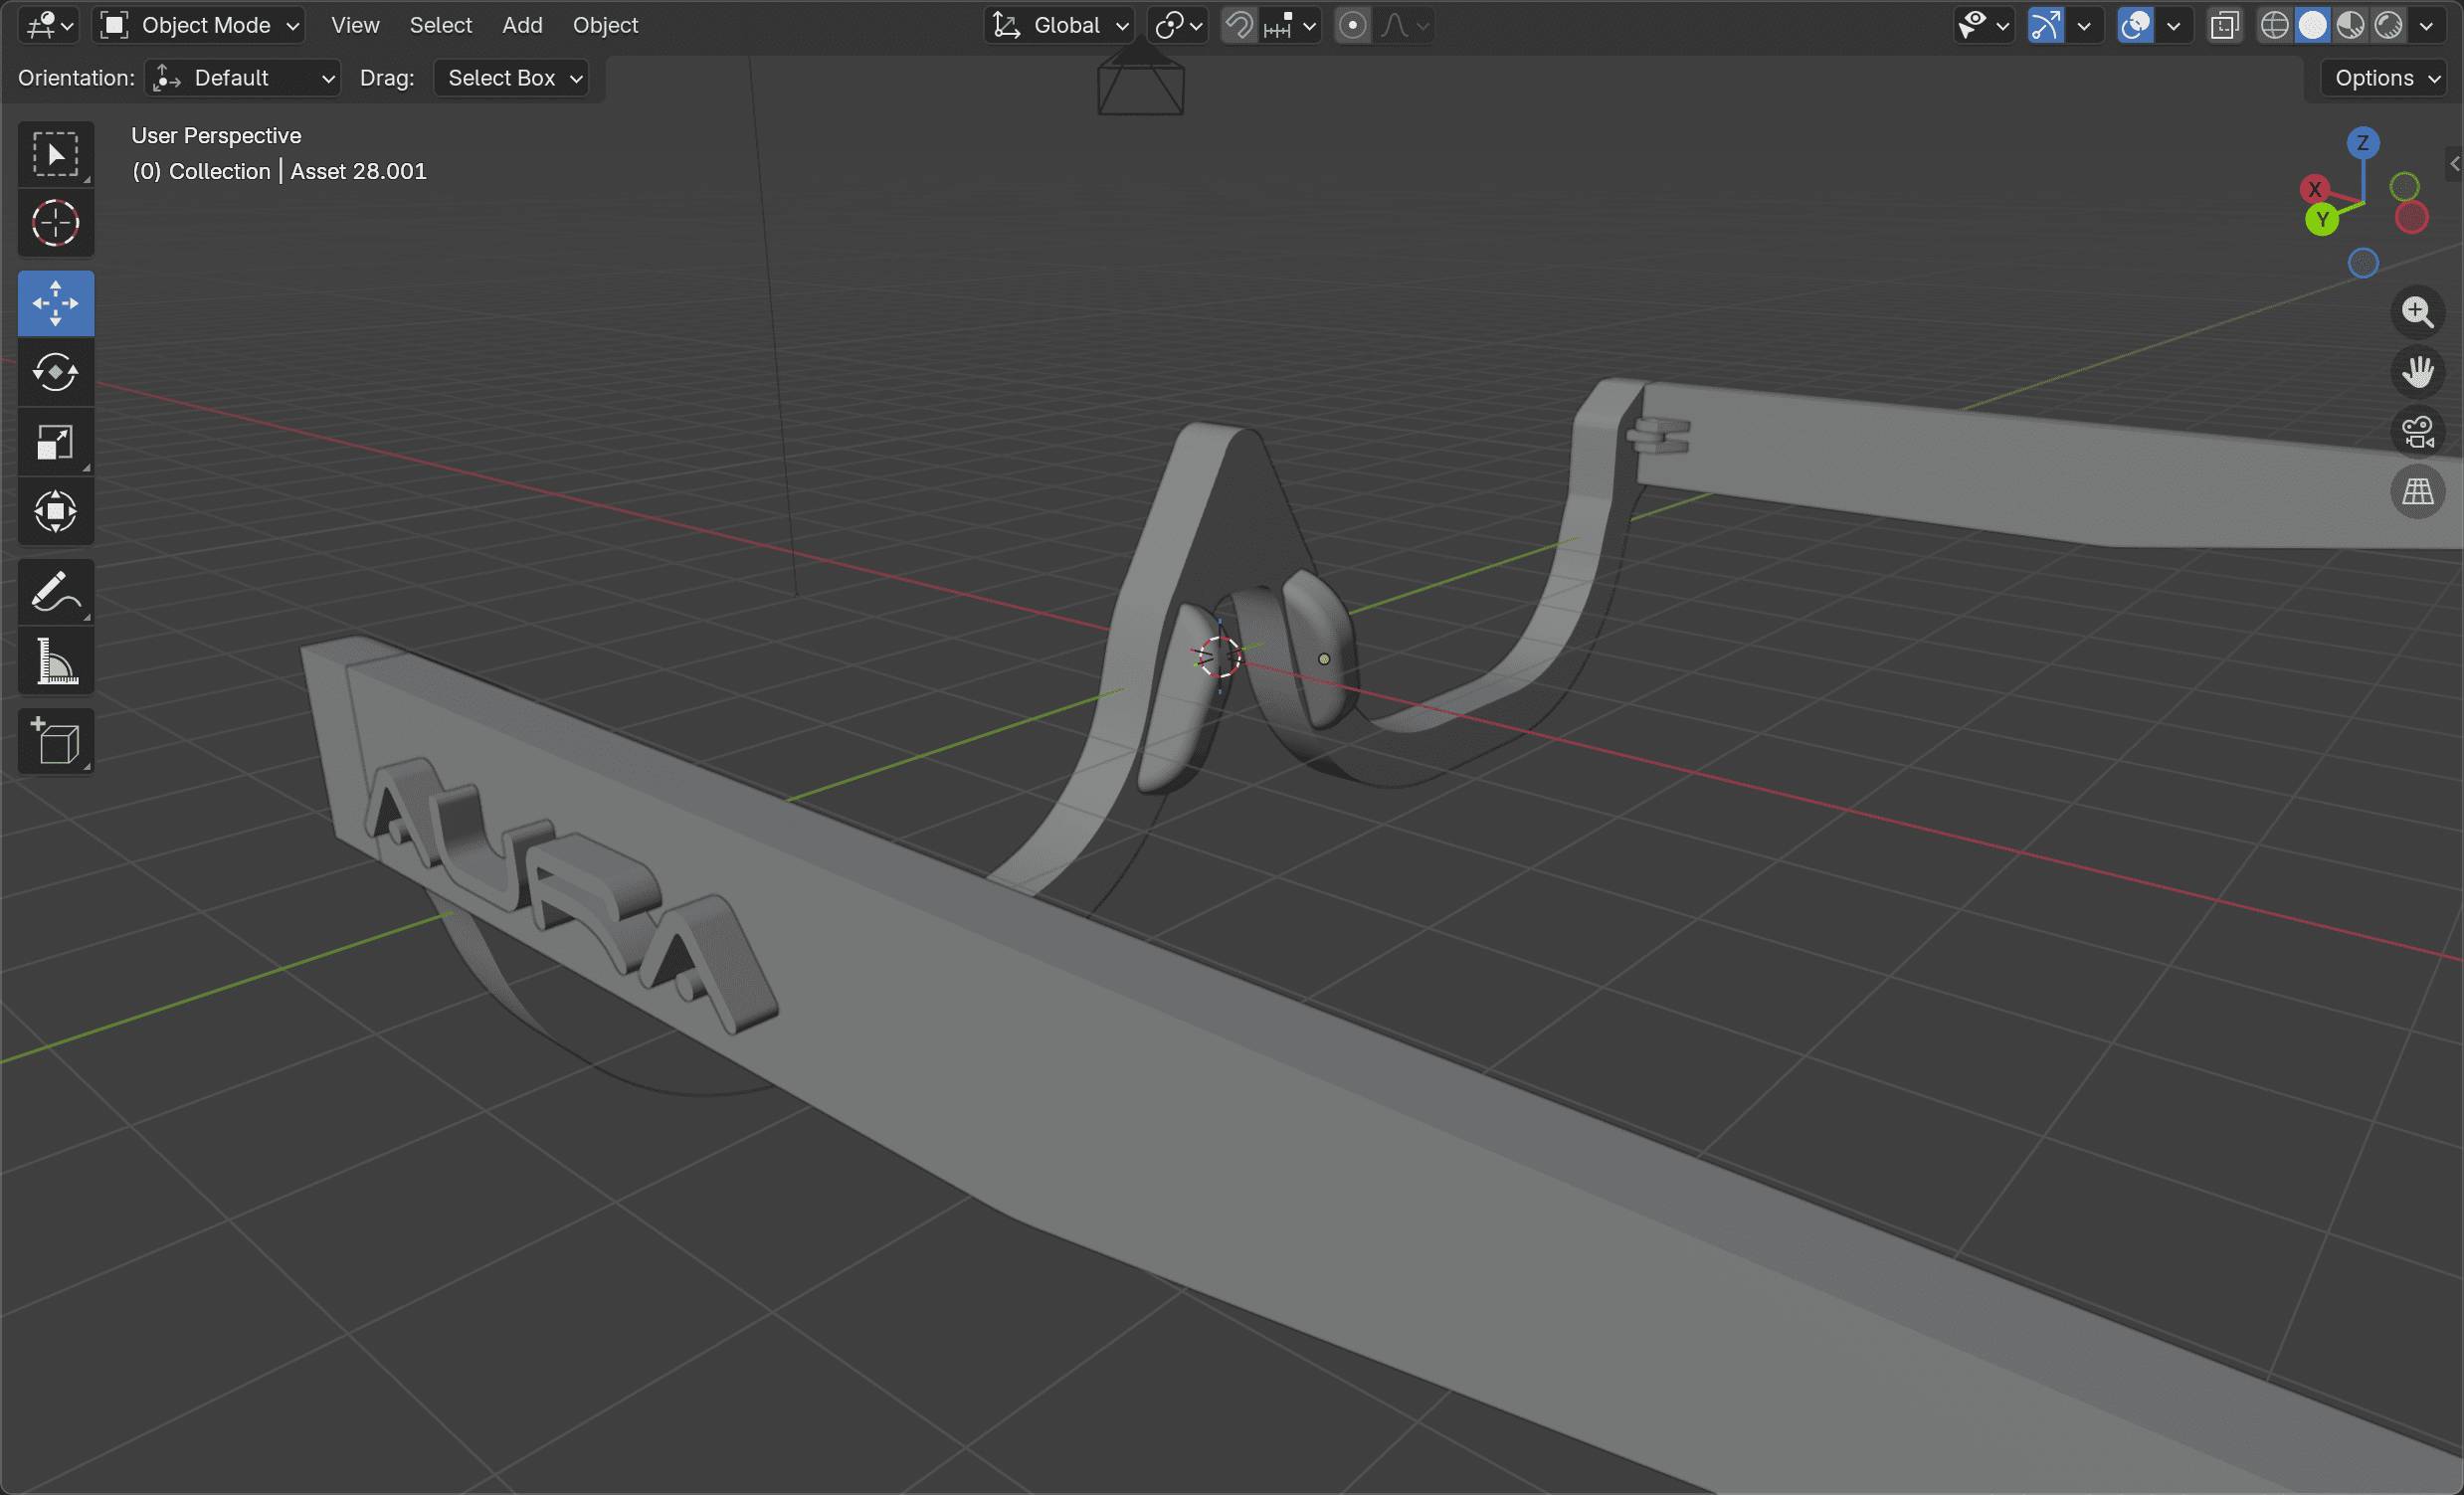
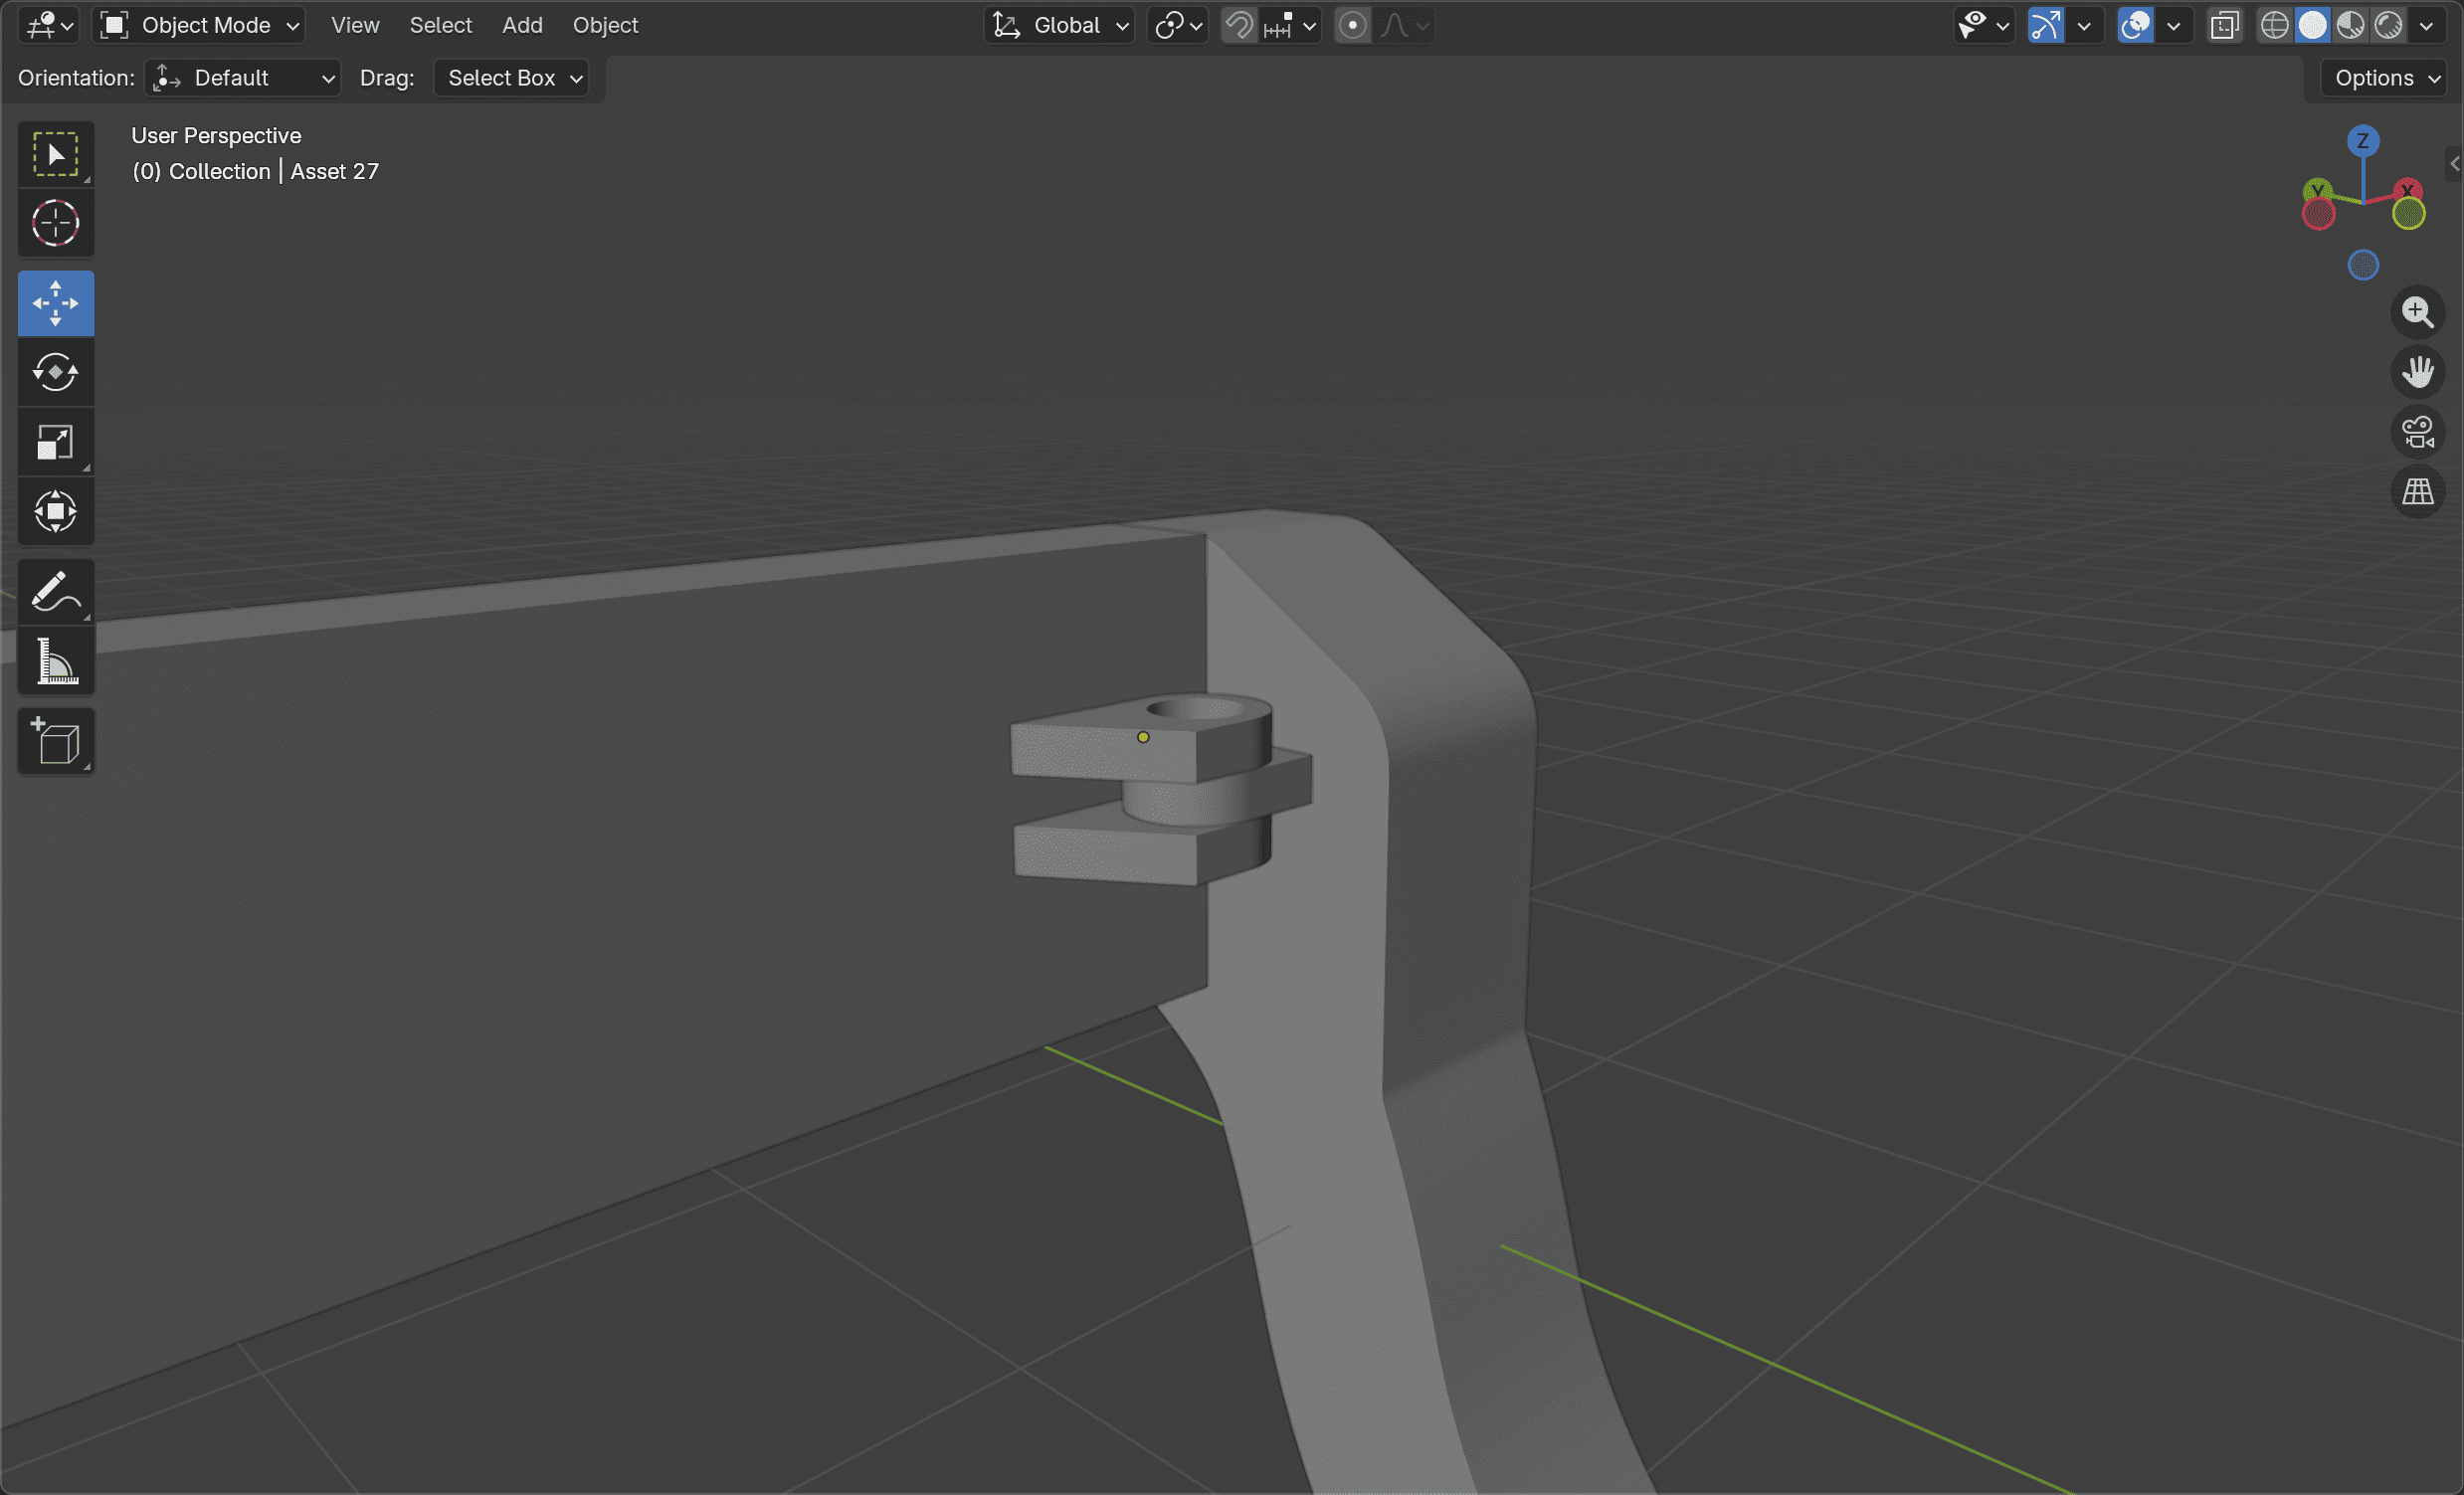
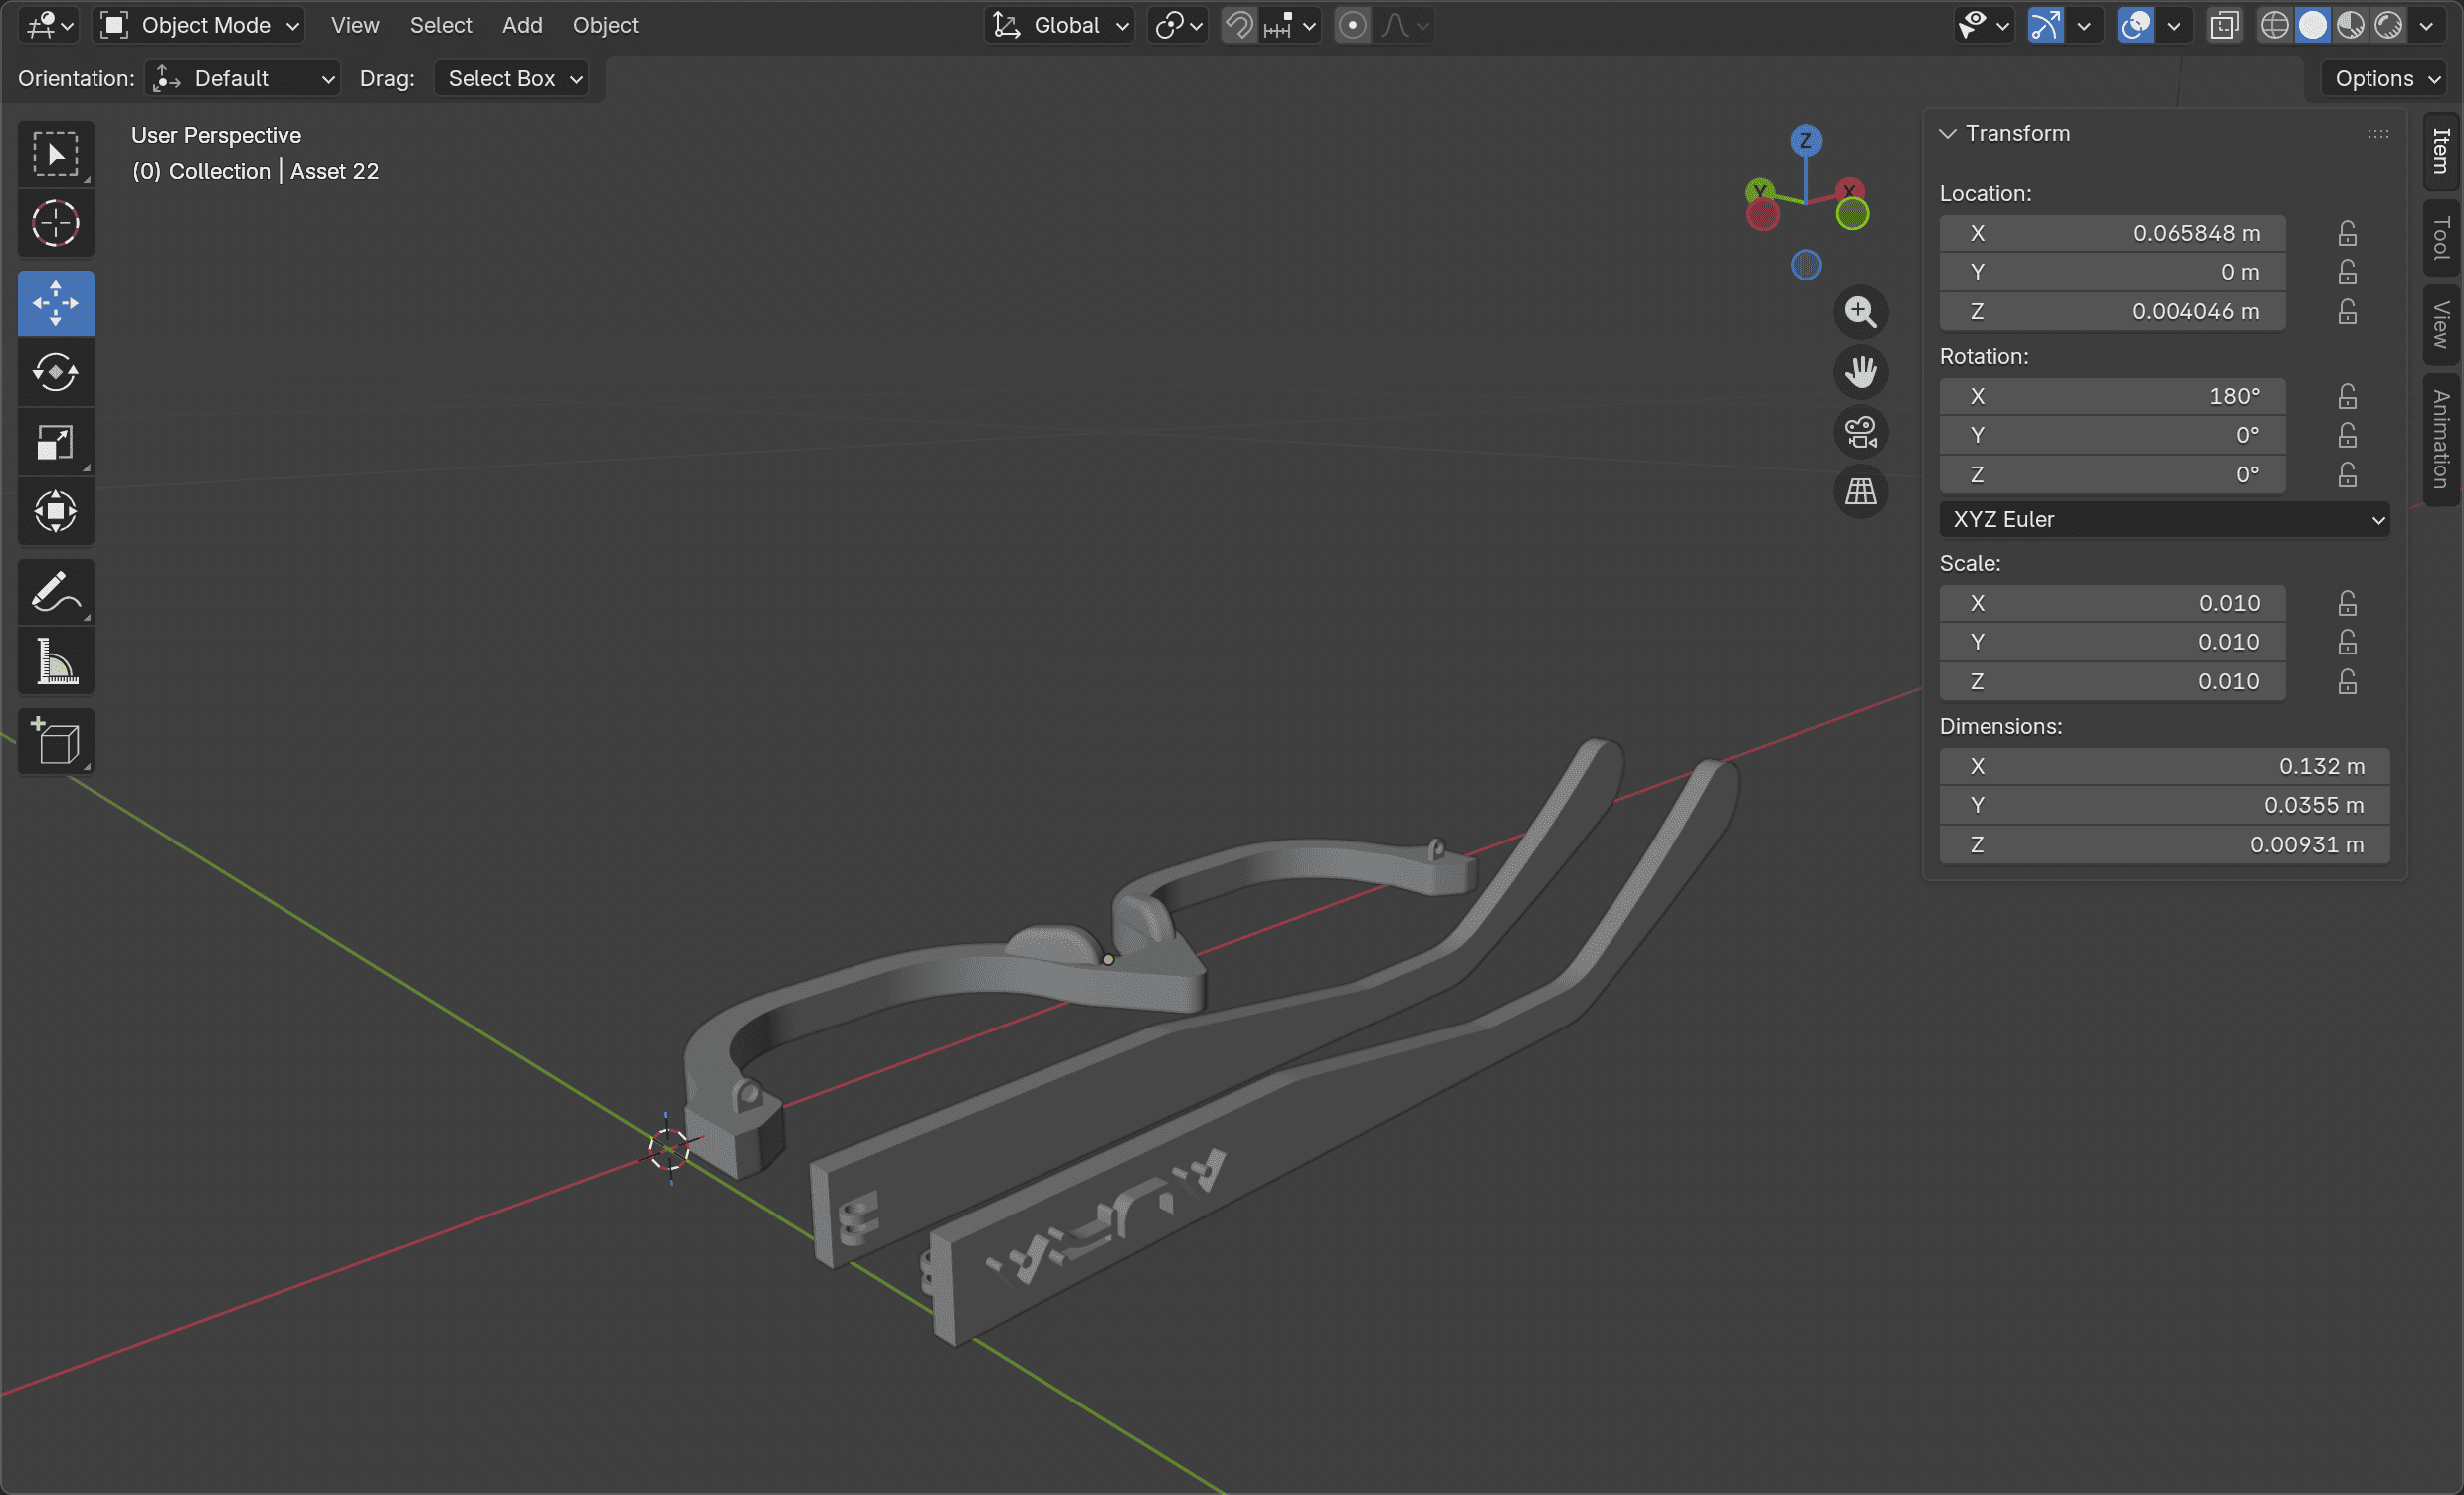
③ I assembled the components in Blender, ensuring that all connection points and holes were properly aligned. Then I deconstruct to prepare the .stl file for BambuStudio.
④ I managed to reduce the estimated printing time to just 47 minutes!
This process was quite gruelling, especially while learning a new software at the same time. However, it also reminded me that adapting workflows based on my strengths can be just as important as learning new tools from scratch. I just hope that I am able to print my eyewear so that my effort in preparing the 3D model would not go to waste!
UPDATE The Product Design workshop was too busy and the 3D printer was down. I cried.